


Thanks to @TimbrSS and @Shadetreefab for the exhaust info and flow math!
And to @formulaben, @Ninetysixsurfer and @Nitrousbird for the muffler delete idea. And everyone else who gave input on this project in the build thread.
The easiest is still to buy a bolt on system from Fresh Air Exhaust; his system is proven and it's a worthwhile price. FAE is not only quiet behind the boat but safer than breathing exhaust, whether you smell it or not.
I decided to make my own only because I wanted it to fit through Malibu’s power wedge, which nobody makes (including Malibu), I wanted to combine it with a muffler delete, and wanted it to be a simpler flow than Malibu’s stock exhaust, without hard angles or pinched tubes.
Really curious what these boats would look like if they were designed for surf exhaust from the factory, instead of retrofitted after the fact.
I removed the giant muffler in the back motor compartment and used a 2-1 merge collector, 4" mandrel bends and a 4" pipe to try and maximize flow. All making sure the flow goes down with gravity from the manifolds to the Y.
So here it is. A lot of work but it came out pretty cool. Ready for summer!

Overall
We love it so far. Still pretty new but will get more time with it through summer. But it worked great, plenty of power, smooth off the line etc.
I like the stealthy part of it, from most angles you don't even see the pipe until it comes out the bottom of the wedge.
Pros
-- Same primary benefit of any other surf exhaust... no carbon monoxide or exhaust fumes while surfing. MUCH quieter from behind boat.
-- Love that it's tucked away from the swim deck and out of sight
-- More room in the back without the muffler, even with the Y pipe we made. Quieter inside at some RPMs for sure, but not as much as I hoped it would be.
-- No rooster tail or spray (so far).
-- Surf wave seems uneffected
-- Wedge works perfect and they don't interfere with each other.
-- More room for side thrusters! haha This big 247 will spin on a dime one day.
Cons
-- Possibly one extra step to remove impeller. It's close. But if so all I have to do is loosen coupler clamps and rotate it up. Might actually be easier though than without the stock muffler.
-- The muffler delete did not yield as much of a drop in noise (from cabin seats) as I'd hoped so far... definitely quieter at some RPMs but not much and not really noticeable.
-- A lot of work! Not sure the juice is worth the squeeze to be honest. But we like it.
-- Time will tell what modifications, if any, need to be made.
Fiberglass work
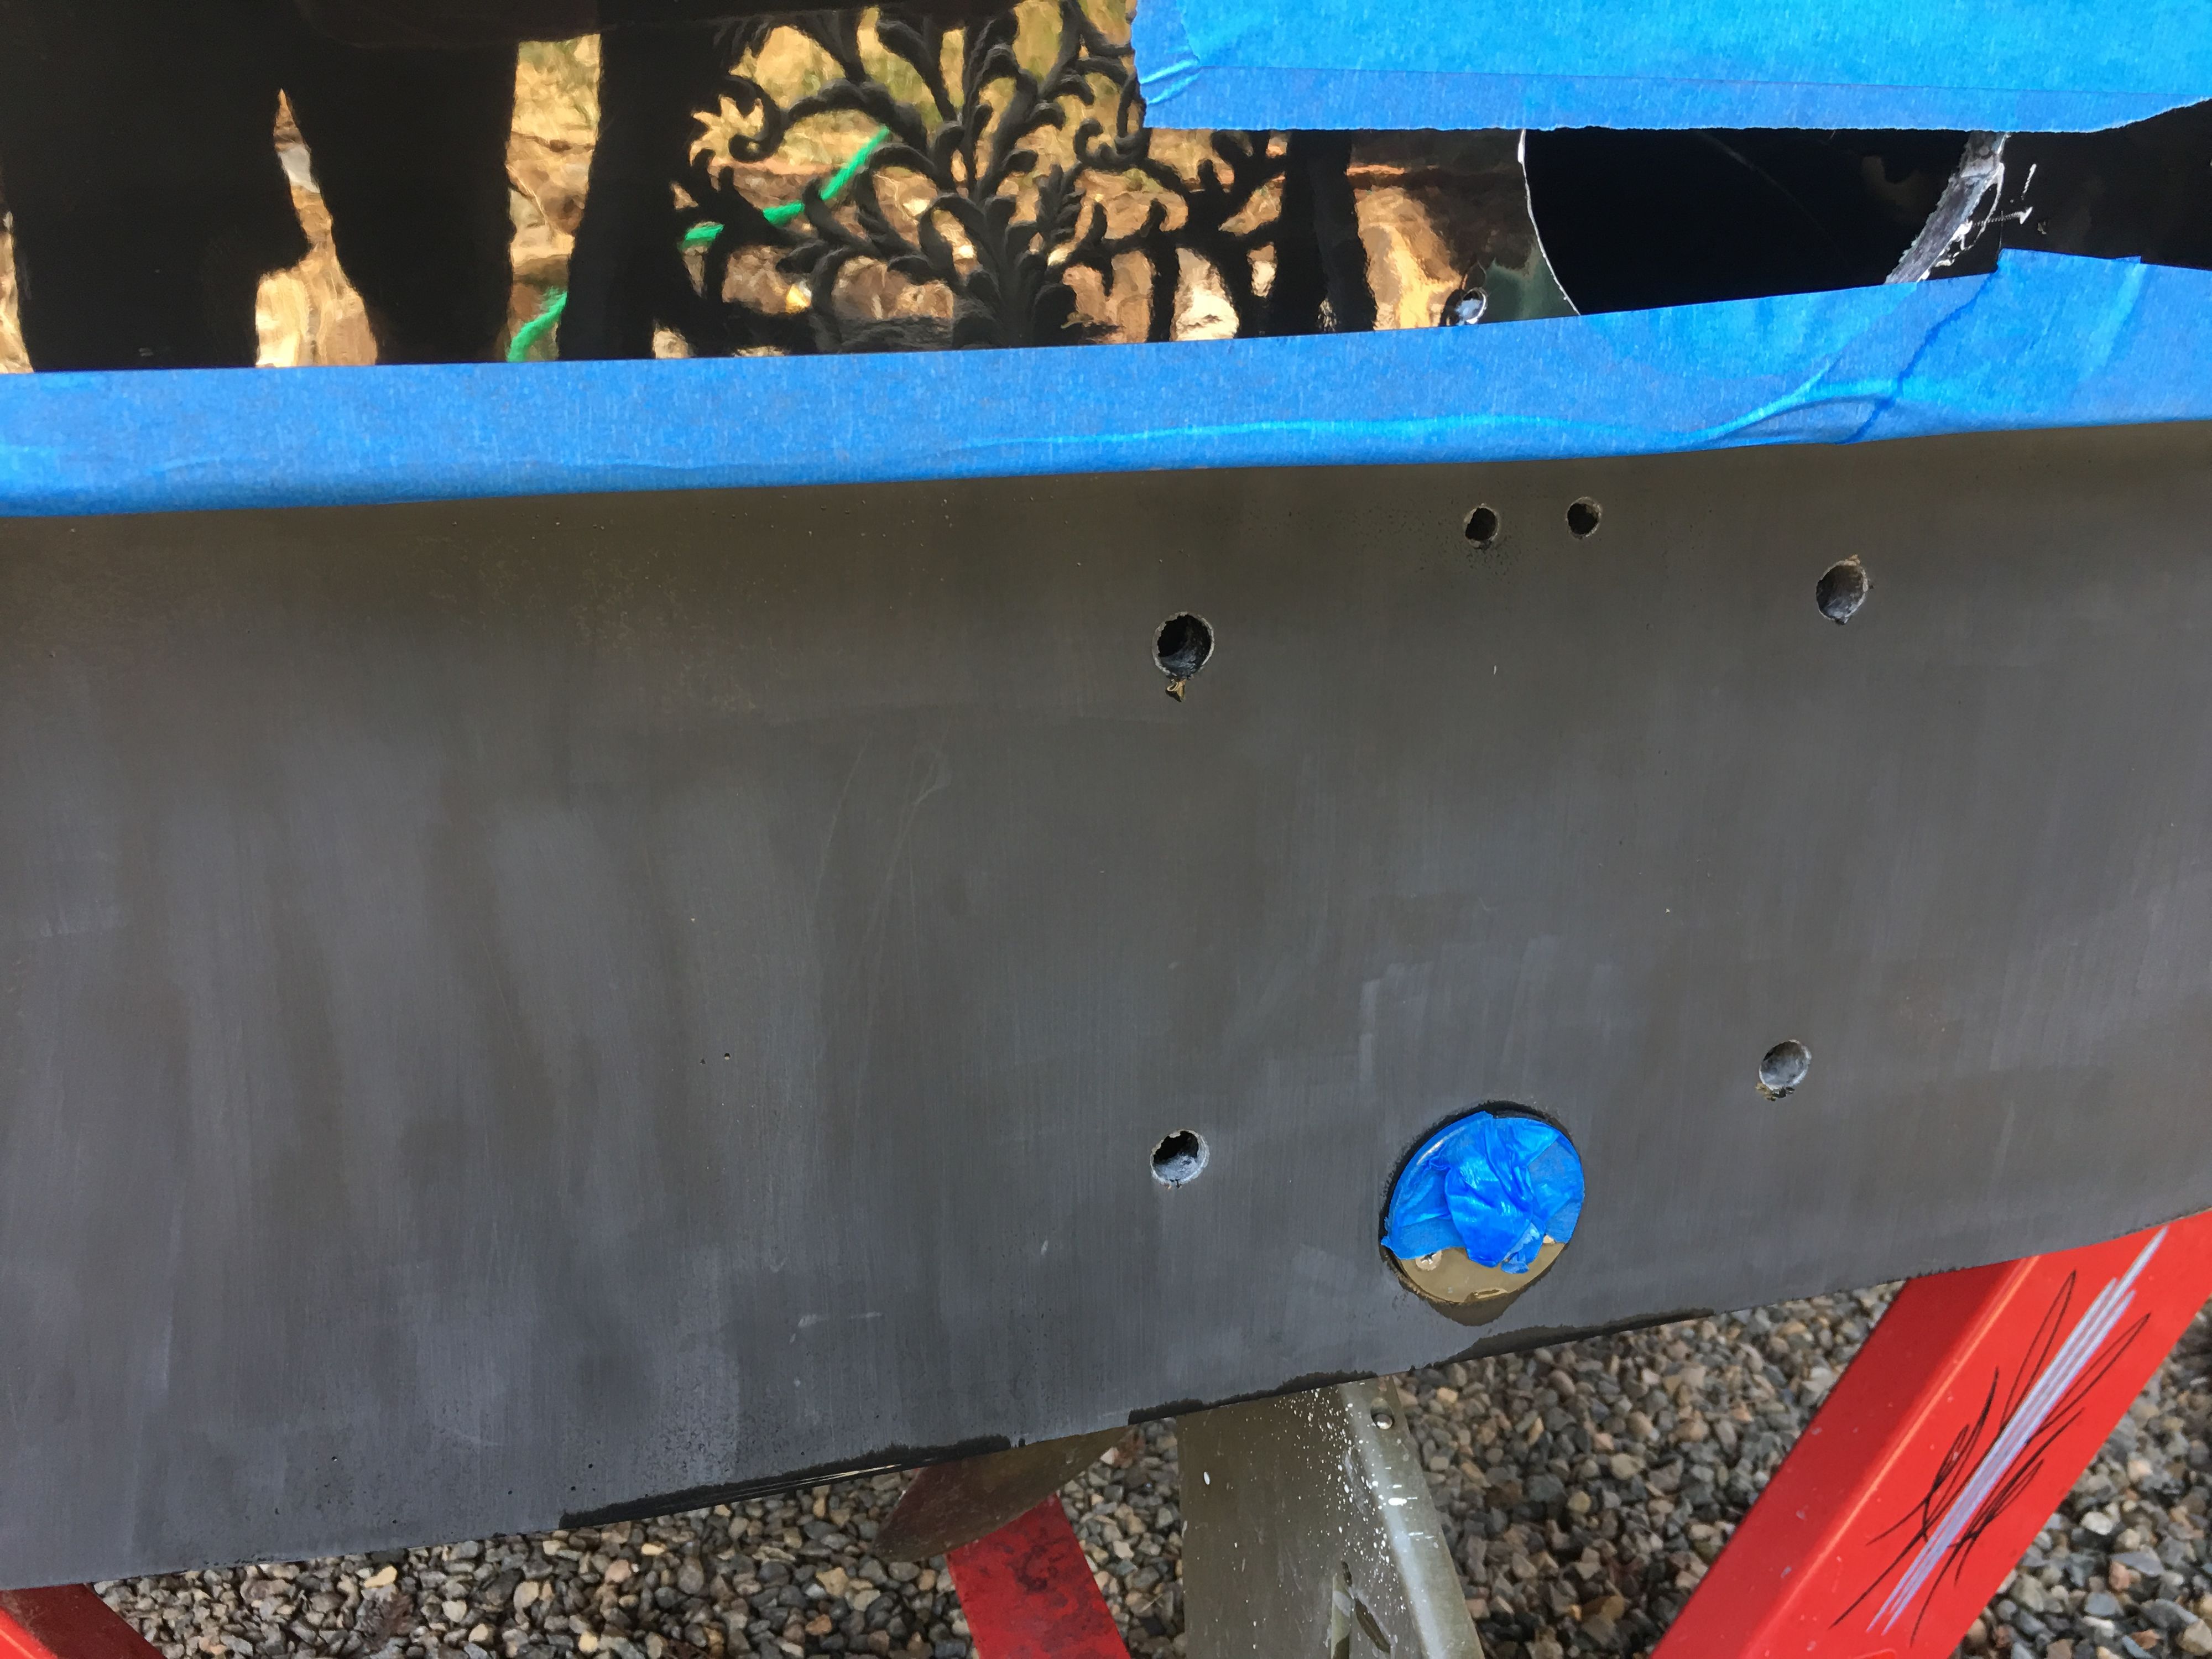
- To make this I had to obviously remove the tips and then fill in the old exhaust holes.
- I also thickened the inside wall of the hull where the new exit point is (it was thinner than below) and drilled a 4" hole. Just layered series of matte and heavy duty roven cloth, along with vinyl ester resin from Tap plastics. I had all the cloth already.
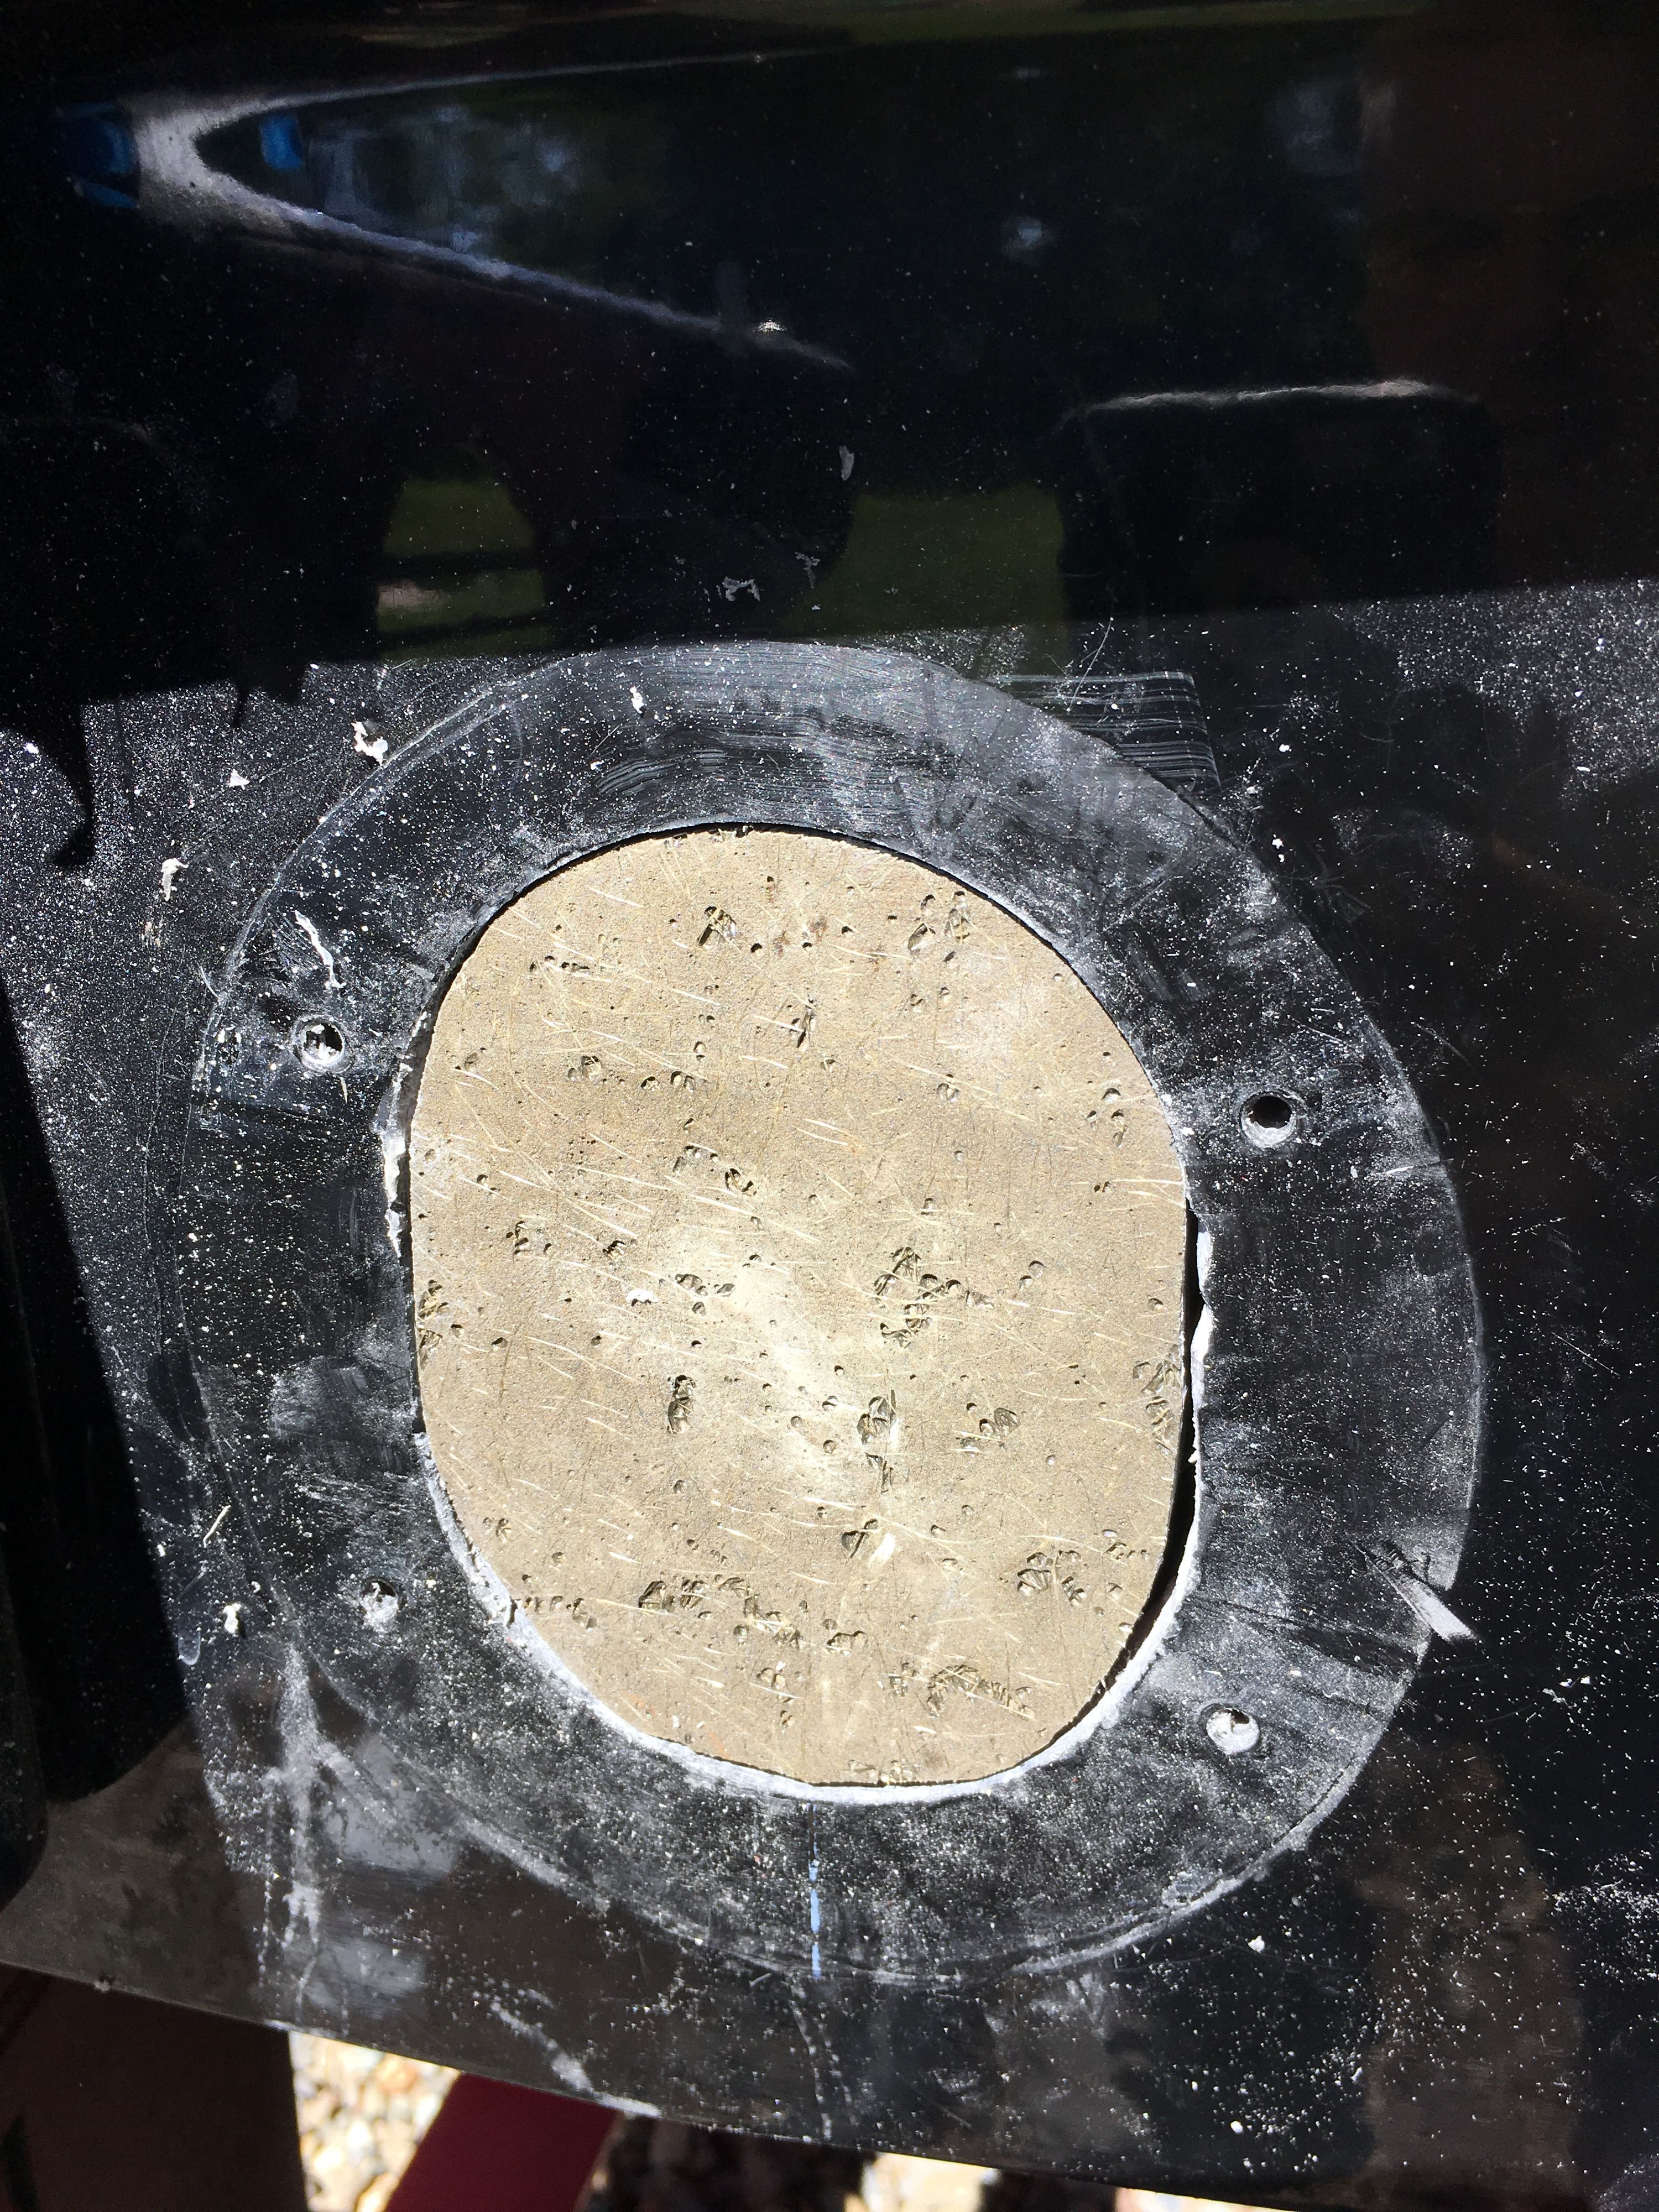
- For the holes, I started with leftover coosa board scraps I had from making surf gates. Cut it out to shape and it made for a nice substrate to work from. No idea how the pros would have done it, but this worked well for me.
- Then glassed in the coosa over the holes from the inside of boat. Again, I layered the fiberglass material, and increased the size to capture the floor and stringer. I thickened the resin around the edges with glass shavings from tap. Once it was done on inside, I brushed a bit of gel coat right over the glass on the inside, so it looked stock again.
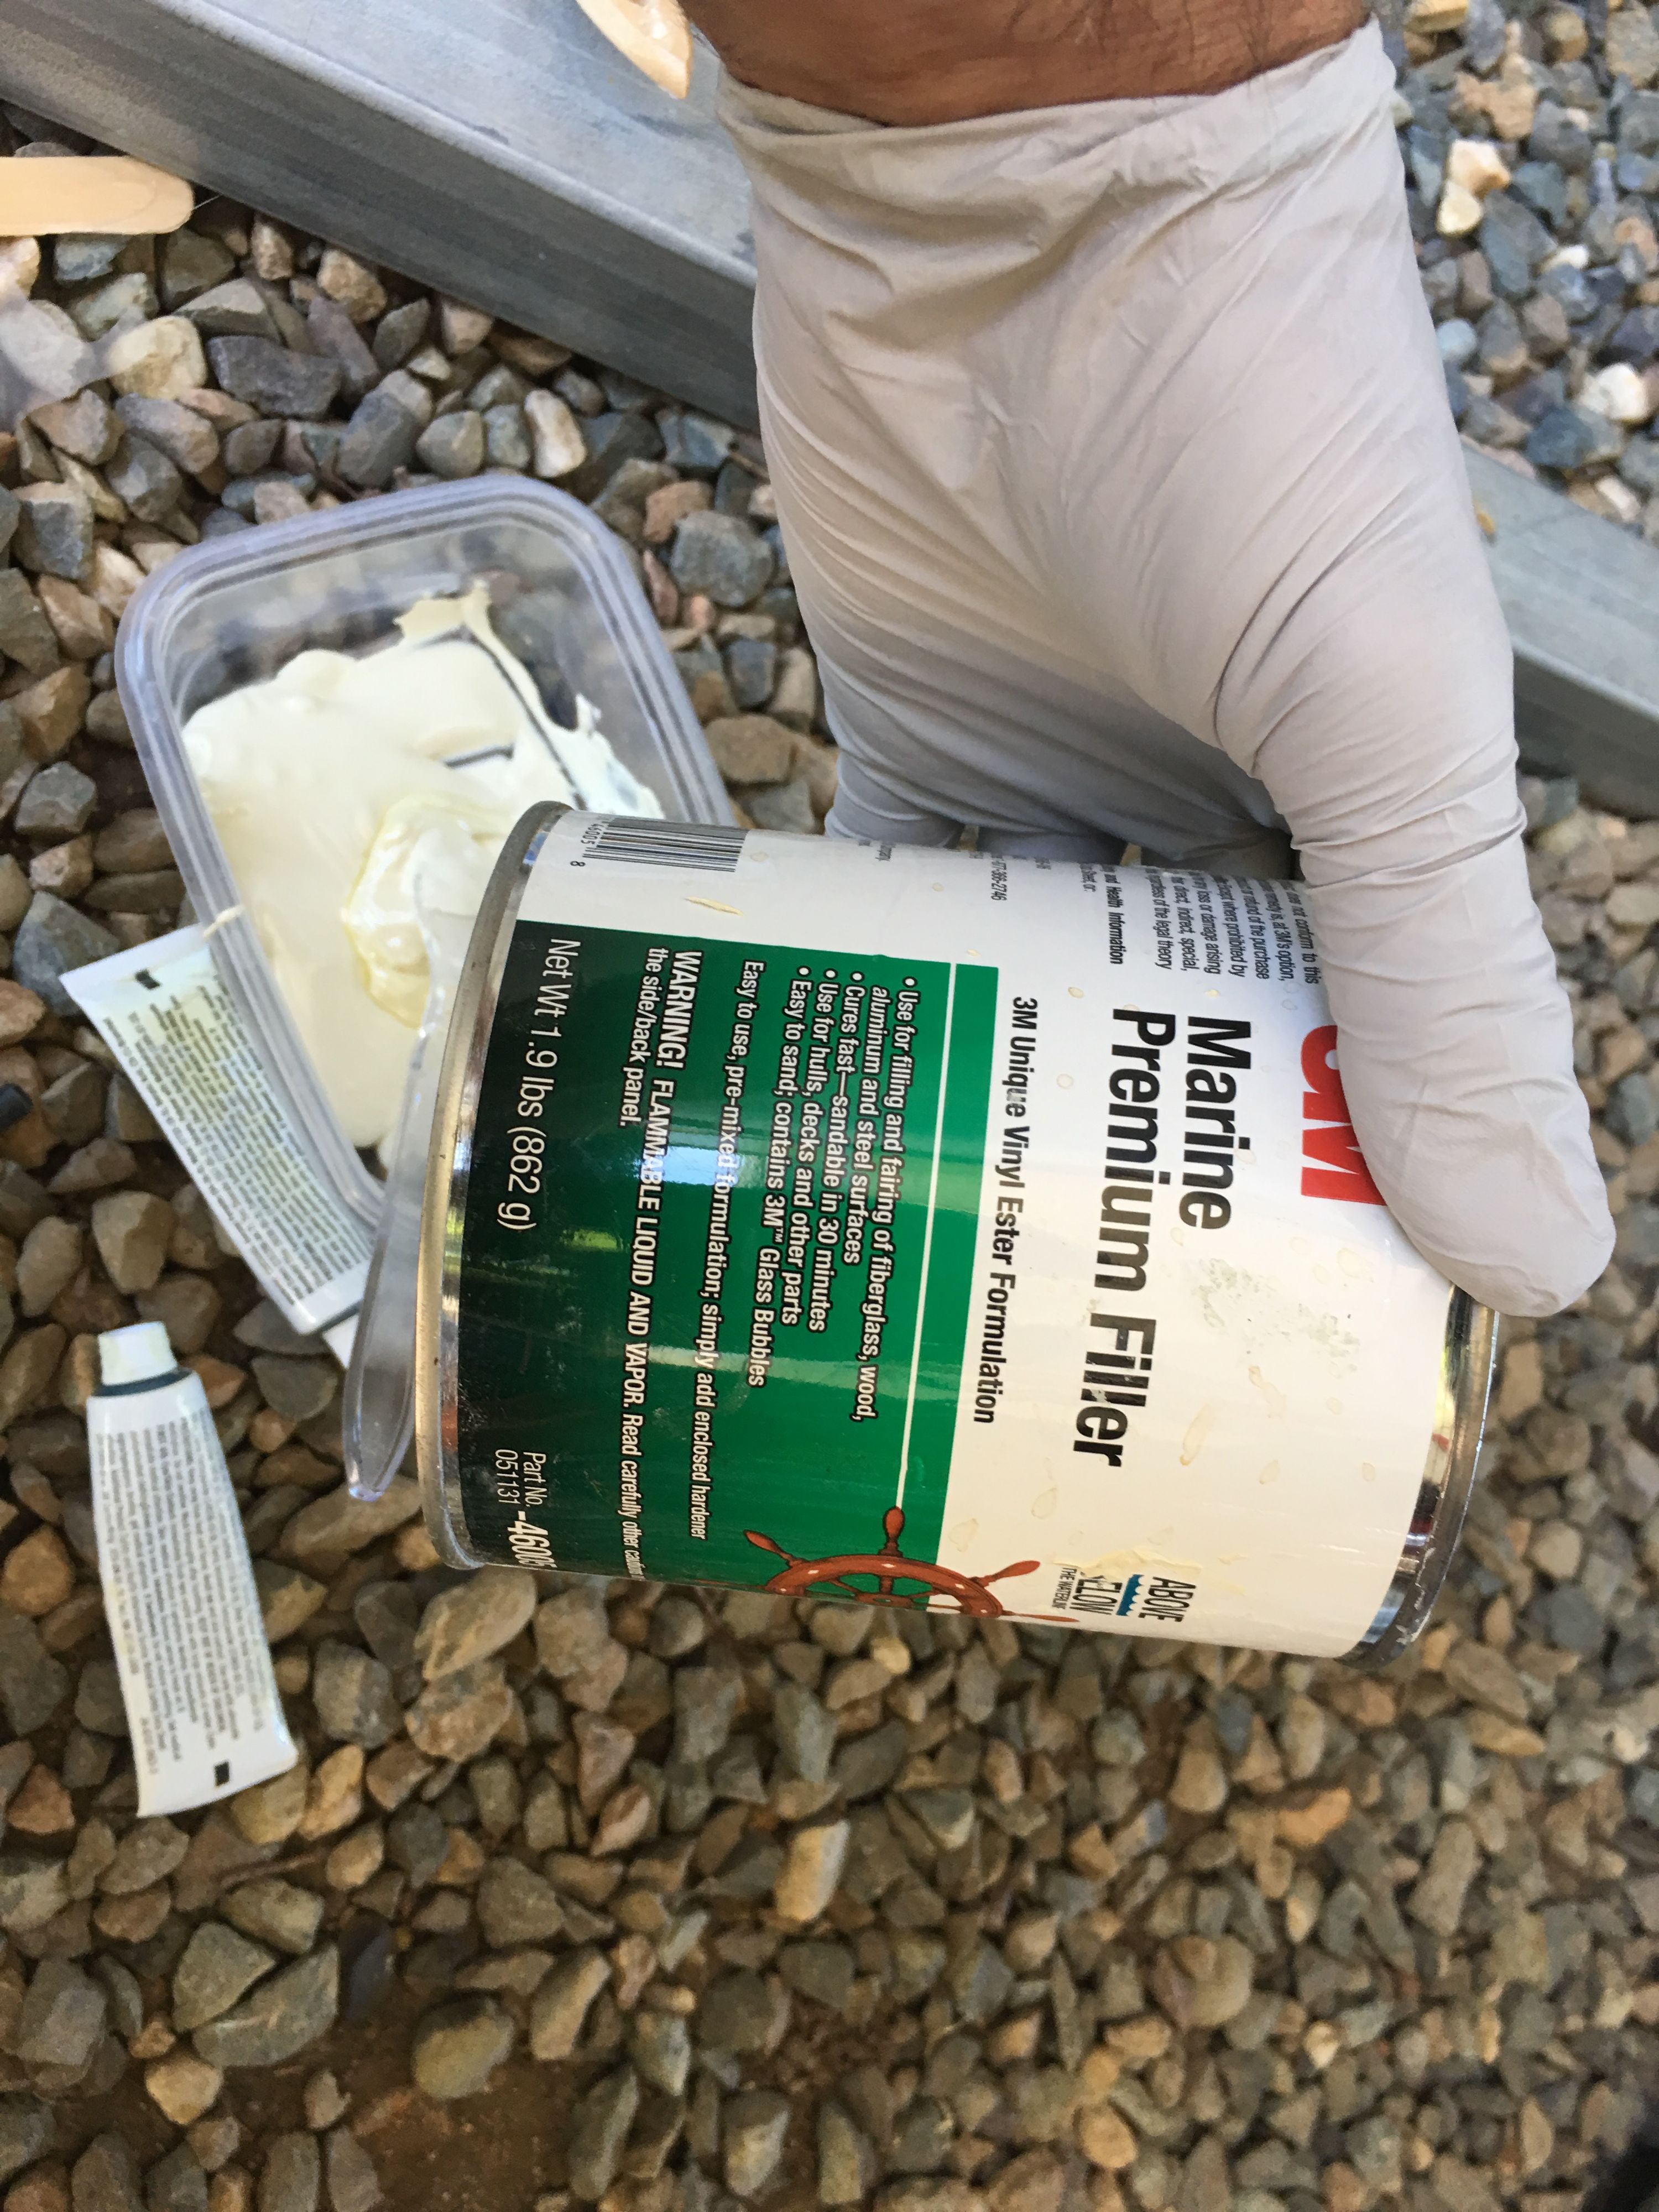
- On the outside I had to do a little body work where the tips were. Filled around and over the coosa board, sanded and smoothed it out using 3m premium filler. This is the stuff I used for the gates last summer.
- Then finally sanded the whole back "cutout" area after removing the wedge. This made it easier to work and looked better.
- Sprayed gel coat using cheap $15 paint gun, drilled out the tip w/ 5/64" to make it around 2mm, which is what I read worked well for gel coat and used the same method on surf gates last year. Sprayed the gel in several steps, added PVA spray over the top so it would fully cure, and the did the wetsanding the next day.
- Wetsanded with 600, 800, 1000, 1500, 2000 -- then polished with rotary buffer and wool pad. Used 3M finesse it. Came out great. Not perfect, I could go back and do a little more wetsanding and then polish, but was strapped for time.

INSIDE
Glassing over the hole (somewhere during one of 4-5 layers).

Brushed gel coat over the top of the new fiberglass on inside in the bilge area. Now it's hard to notice anything was done.

OUTSIDE
Here's the filler I used. I used it because its what I had from last summer's gate project.

Preparing to spray. I ended up spraying the middle too, and sanded with 80 grit before hand (not in pic).

Smelly gel coat.

My $15 harbor freight spray gun. And if you take too long and gel coat hardens inside, toss it.
But if you clean after each spray with acetone, it'll last. This is the same gun I used for the surf gates last summer.

Made a bigger tip (close to 2.0 mm for gel coat) by drilling with 5/64" bit)

Freshly sprayed. And added the PVA (with spray bottle) to fully cure.

HATE, HATE, HATE this part. Wetsanding -- 600, 800, 1000, 1500, 2000 - then polish w/ rotary.
This took HOURS!!!!!

Rinse, look for imperfections, then polish.

Cane out good but not perfect. I might go back one day and wetsand/polish a few spots.
Stainless Steel
I wanted to simplify the exhaust flow. Tried to read up on back pressure, scavenging, CFM needs etc, made a few calls, then drew it up. I'm sure someone will set me straight and find a major flaw, but it runs awesome so far!
I have the 8.1 liter big block motor, which came with 4" manifolds to the inside muffler at a 90, then to 3.5" down to a pinched exhaust hose to 3.5" tips on each side.
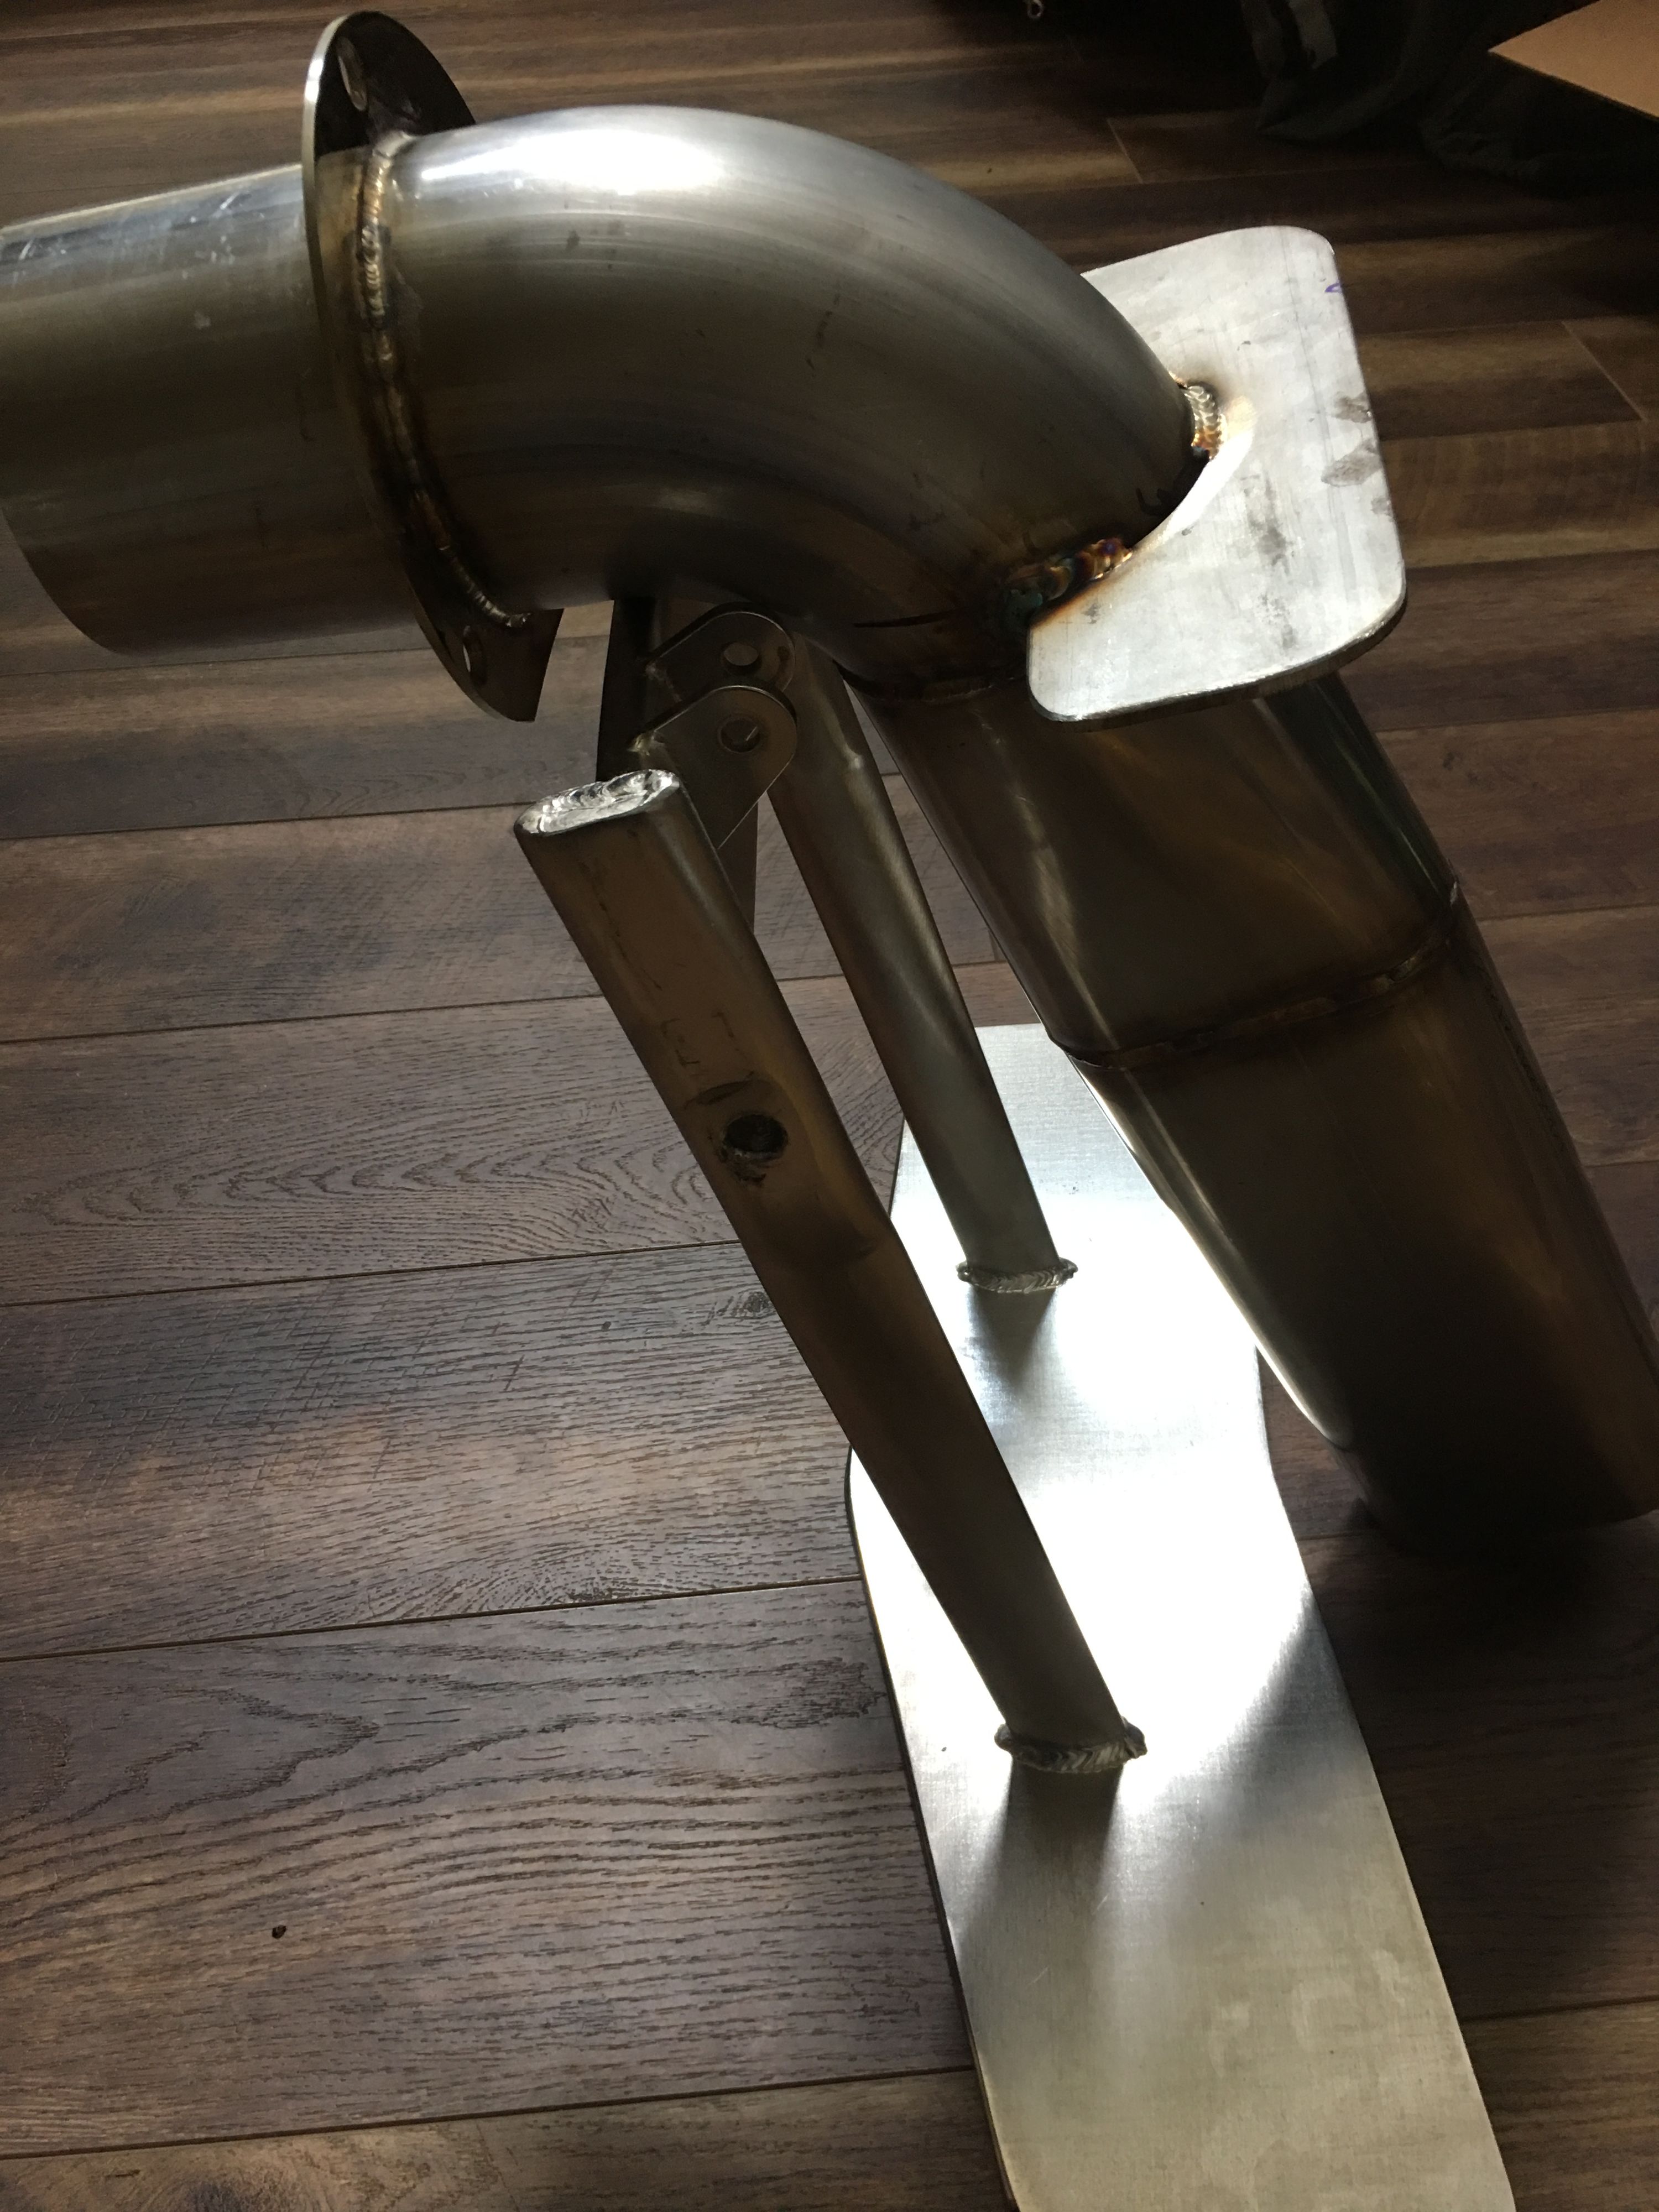
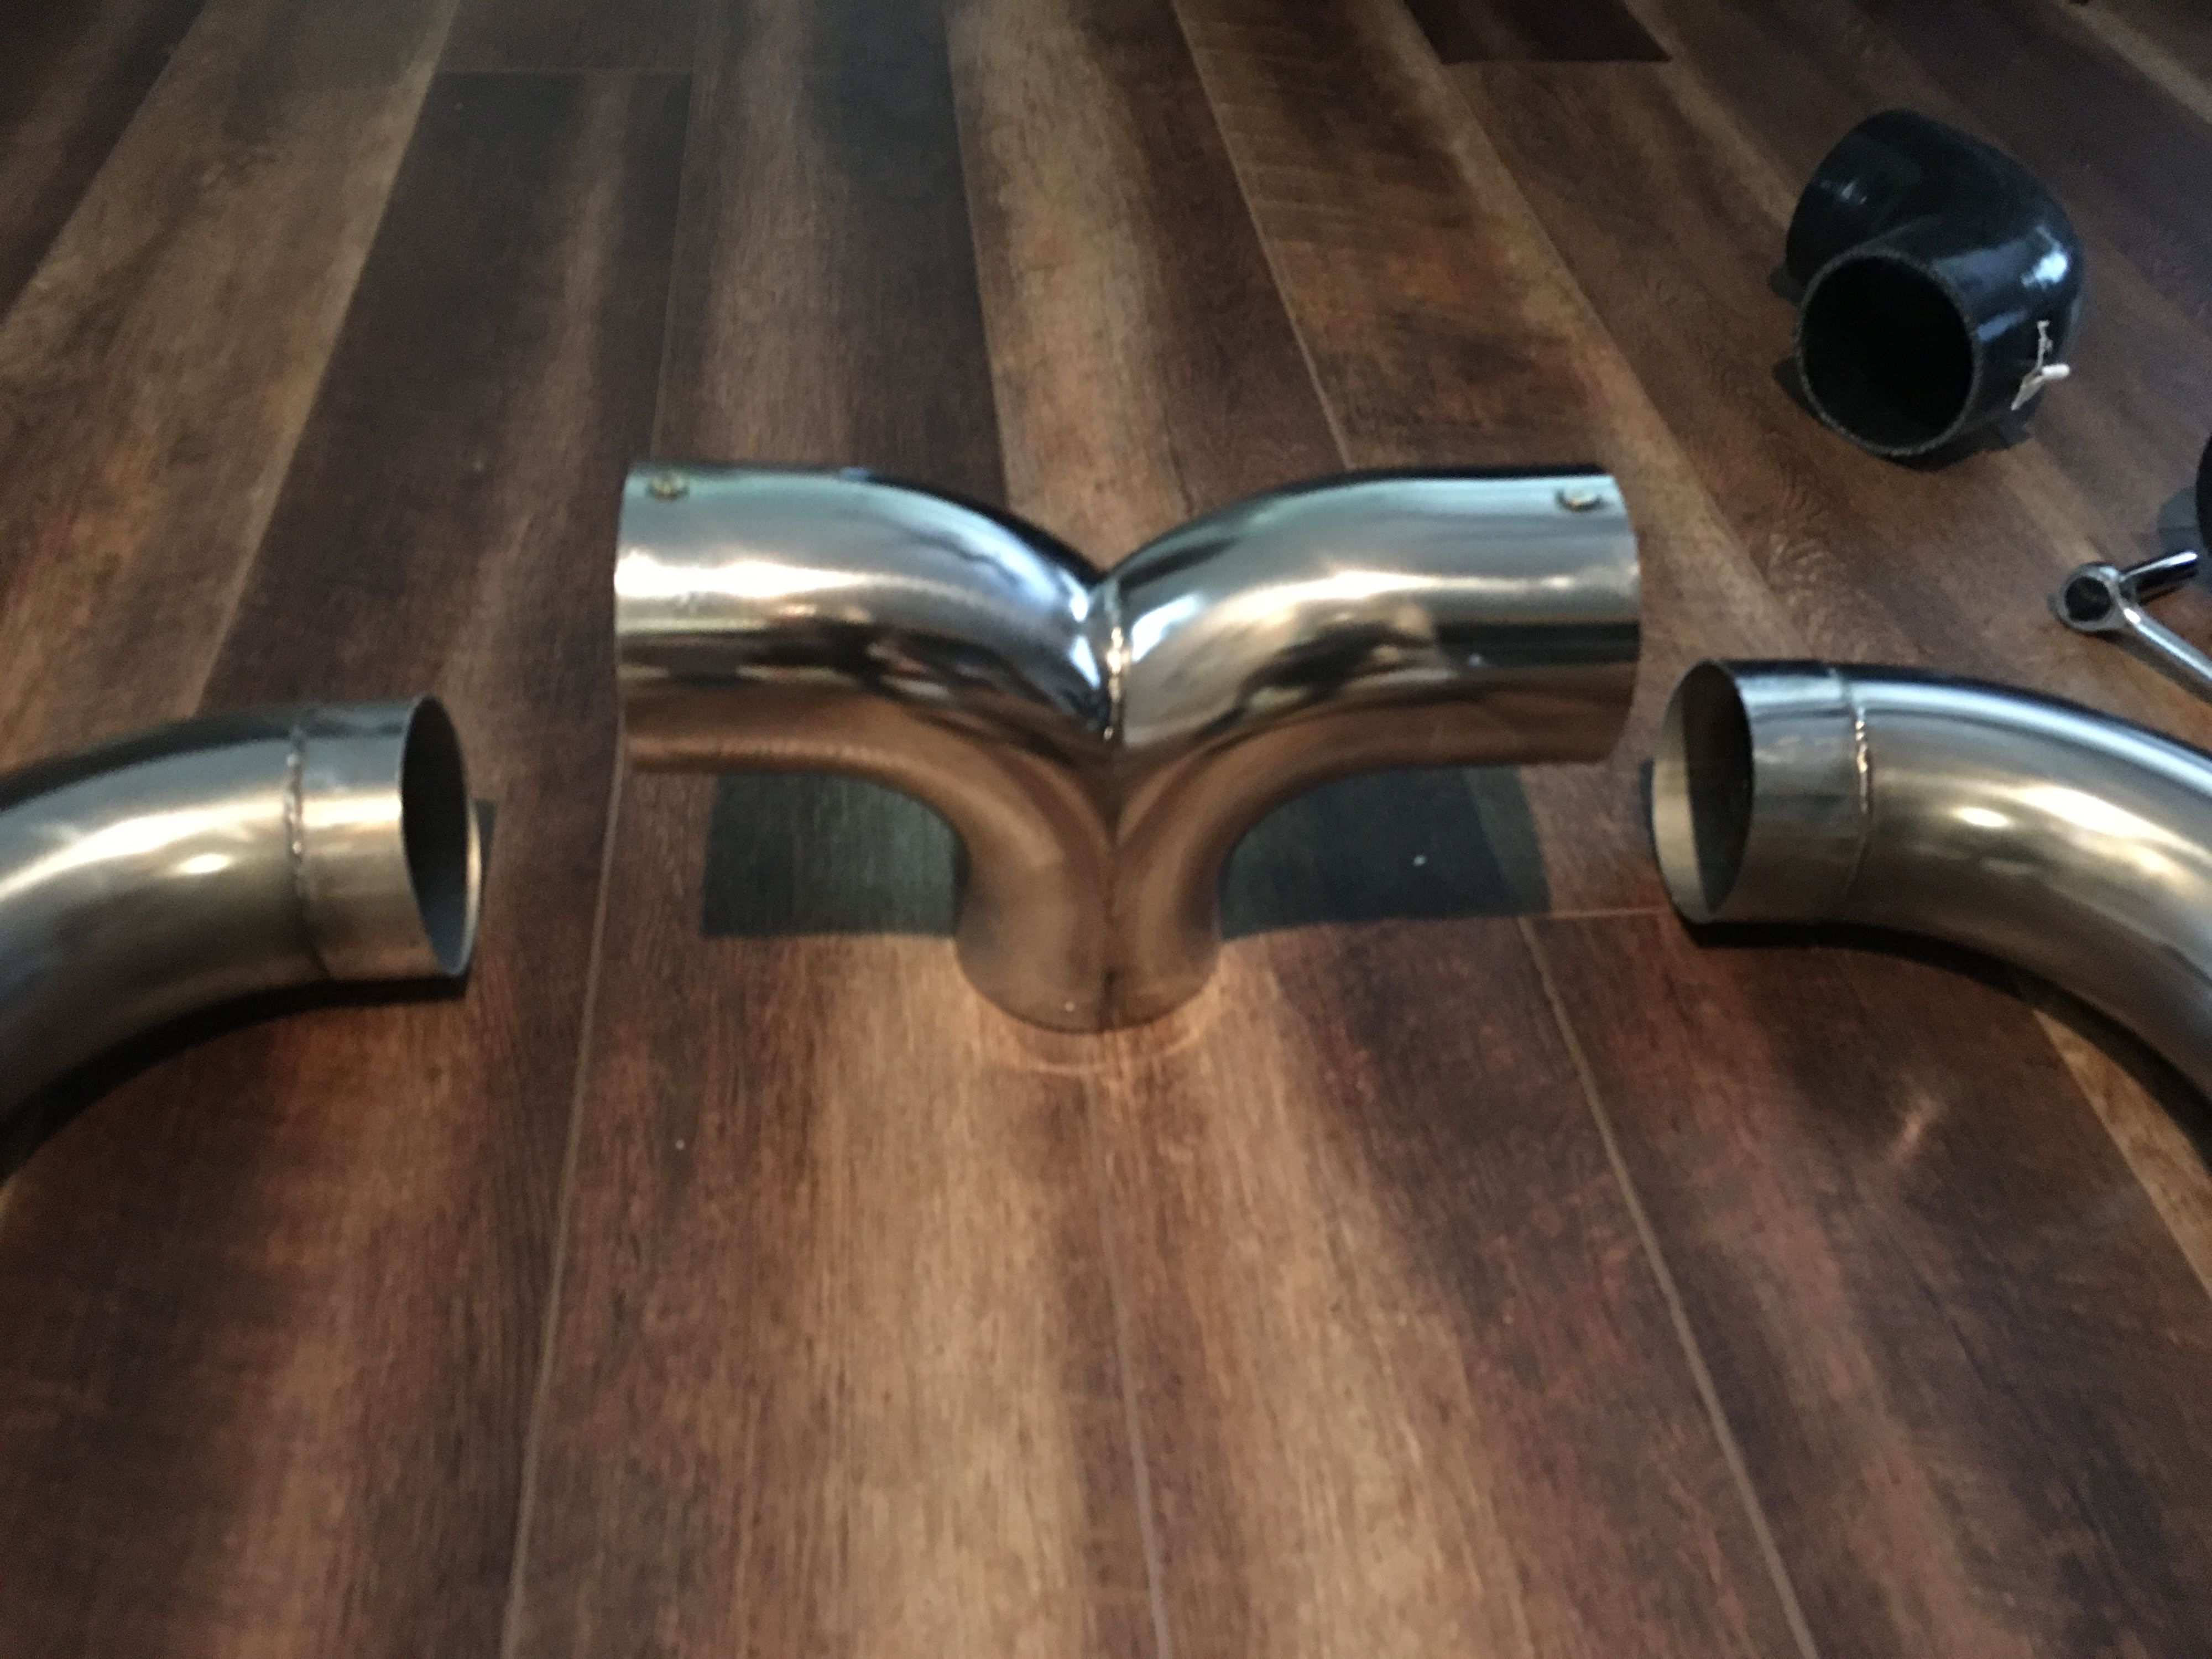
New exhaust goes to 4" mandrel bends (6" radius) into a Y merge collector (that was made from 2 mandrel bends), and then out to another mandrel bend that points down and transitions to a 4" oval.
- Bought the mandrel bends online. Chose Burns Stainless because he had some great tutorials. He was more expensive but worked with me on price when I brought comparables.
- PAID a fabricator to tig weld the stainless for me. I cut as many of the straight pieces as possible, and worked with him to get it welded in the right places. He made the merge collector.
- Bought a polished transom ring from Hardin Marine for 4" tube.
- Polished it using a rotary buffer and the Zephyr add-on tools I've had for years.


Paid to have merge collector made. Cut 2 mandrels in half and tig welded. Then I cut to length later. The merge collector Y had to sit lower than the manifolds so it was cut down quite a bit.

The general idea here, tuck the exhaust down through the power wedge. And then it bolts to the transom, but also bolts to the wedge.
Now the polishing. This was quick (unlike wetsanding gel coat). I used my rotary polisher with the zephyr polishing system I've had for years.
And the technique posted here:

Below is after about 5 Minutes per piece! Super easy with the right tools. No I did not go for a show quality shine, but it cleans up nicely. I did spend probably 20 minutes on the outside piece though,


Dropped in a couple of 4" internal safety flappers..... what the hell at this point.

Then assembled with exhaust hose and silicone couplers from merge collector to surf pipe. Used stainless T bands I picked up on Amazon (most of my regular hose clamps would not fit properly because of the 4").


Bolted it to the wedge as well. Should be bomb proof.


Edited by Rugger


.thumb.jpeg.d318255b96edd9f88e9a0da37ff83595.jpeg)


.thumb.jpg.d6e1f49476f0797b86e8afb53e7c3295.jpg)


Recommended Comments
Create an account or sign in to comment
You need to be a member in order to leave a comment
Create an account
Sign up for a new account in our community. It's easy!
Register a new accountSign in
Already have an account? Sign in here.
Sign In Now