


Pretty simple project but hopefully it's worth the pictures for the next person. I needed to pull my driveshaft to install a new shaft seal system (after I had to remove the strut and prop anyway after hitting something in the water).
Since I had to pull the rudder to remove the driveshaft, and my boat is 11 years old, I decided to rebuild the rudder box housing while I was at it. Very easy project but I did hit a few snags.
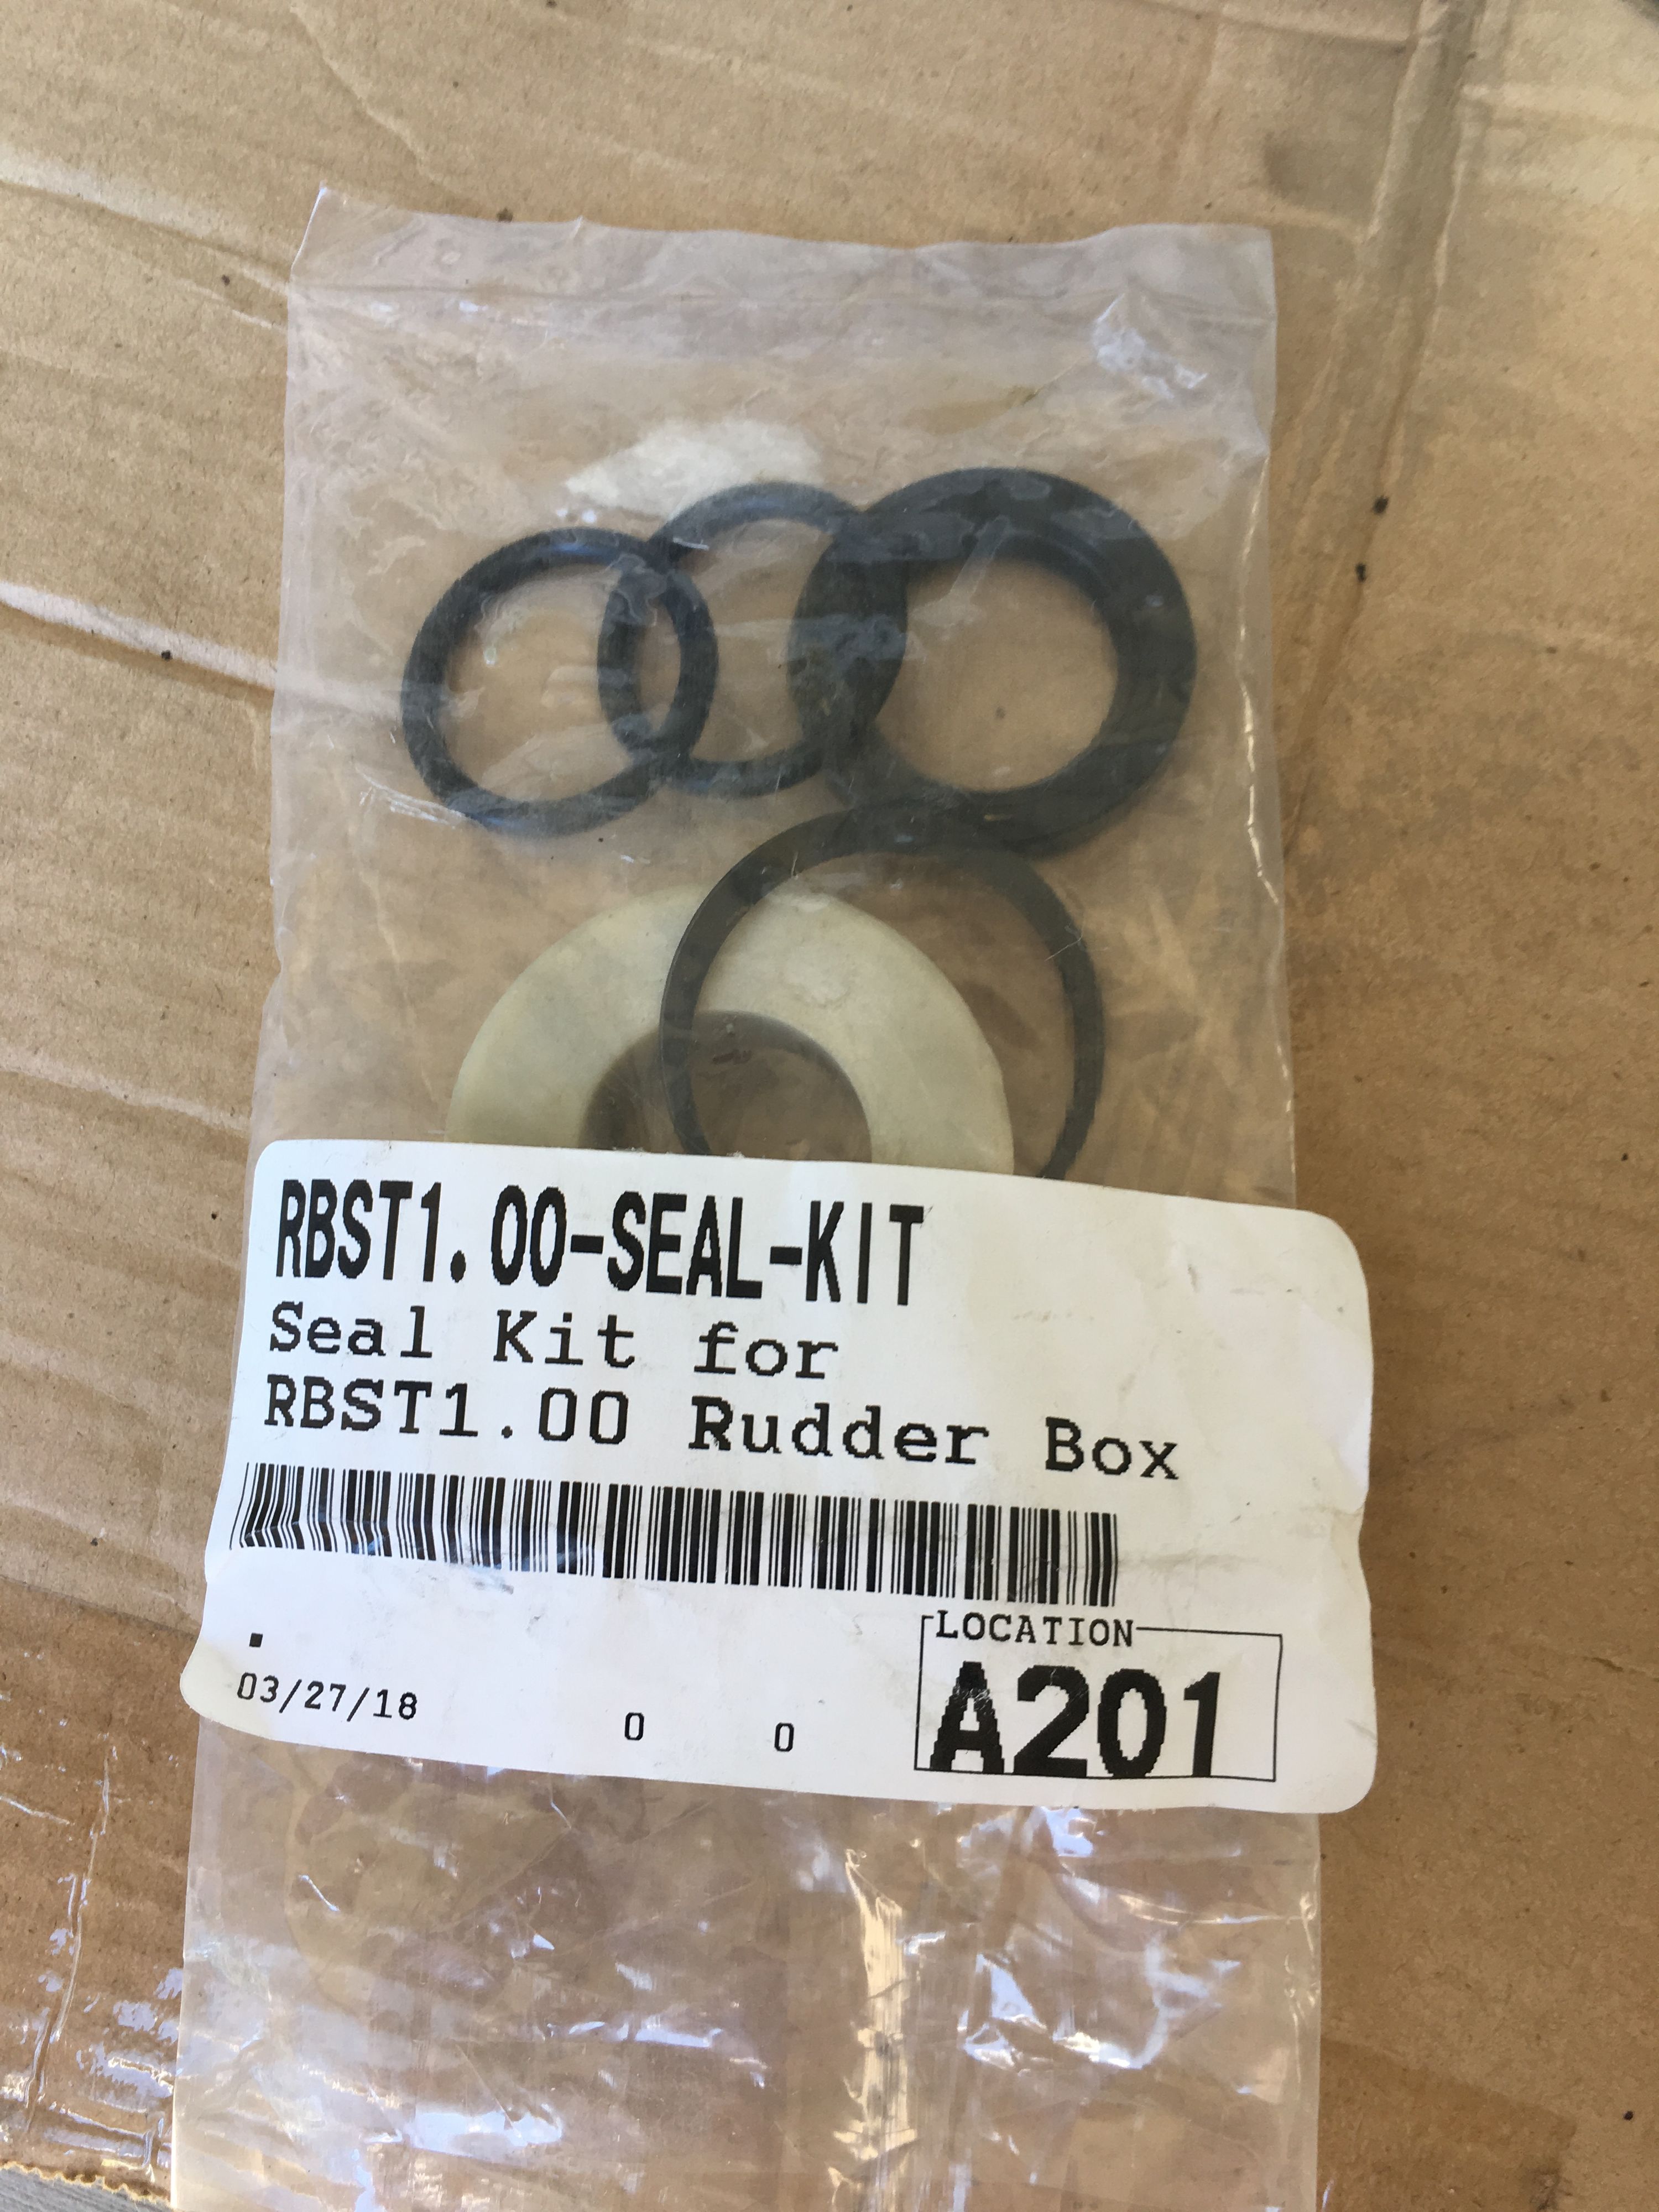
This is a 2007 Malibu LSV. Standard rudder from Marine Hardware. (Most Malibus have M.H. or one other brand, depending on where the boat was made. I believe M.H. was for the west coast builds. Either way, the brand should be stamped on the rudder box. Once you have that, you can order the rebuild kit.

The rebuild kit for the Marine Hardware rudder was about $50 bucks.
1) First priority was to remove the steering arm inside the boat. This was fairly straight forward, but it has a bolt that locks the rudder into the housing via a cutaway in the shaft. Remove the steering cable without forcing or bending it, the remove the bolt to the arm. Simple, however make sure someone is there to catch the rudder or put something below it. Also, do not lose the keyway.

2) Not so simple is that the rudder will not clear many trailers to the point you can remove it. So you need to either reload the boat on the trailer so it sits back behind it (if you live near a boat ramp), or you need to lift the boat. I chose to lift the boat off the trailer on one side. Just used a floor jack, elevated on railroad ties, and used another portion to spread the load between the jack and the hull. Lifted one side of this big boat up no problem and I was able to drop the rudder all the way out. A little ghetto, but worked fine.

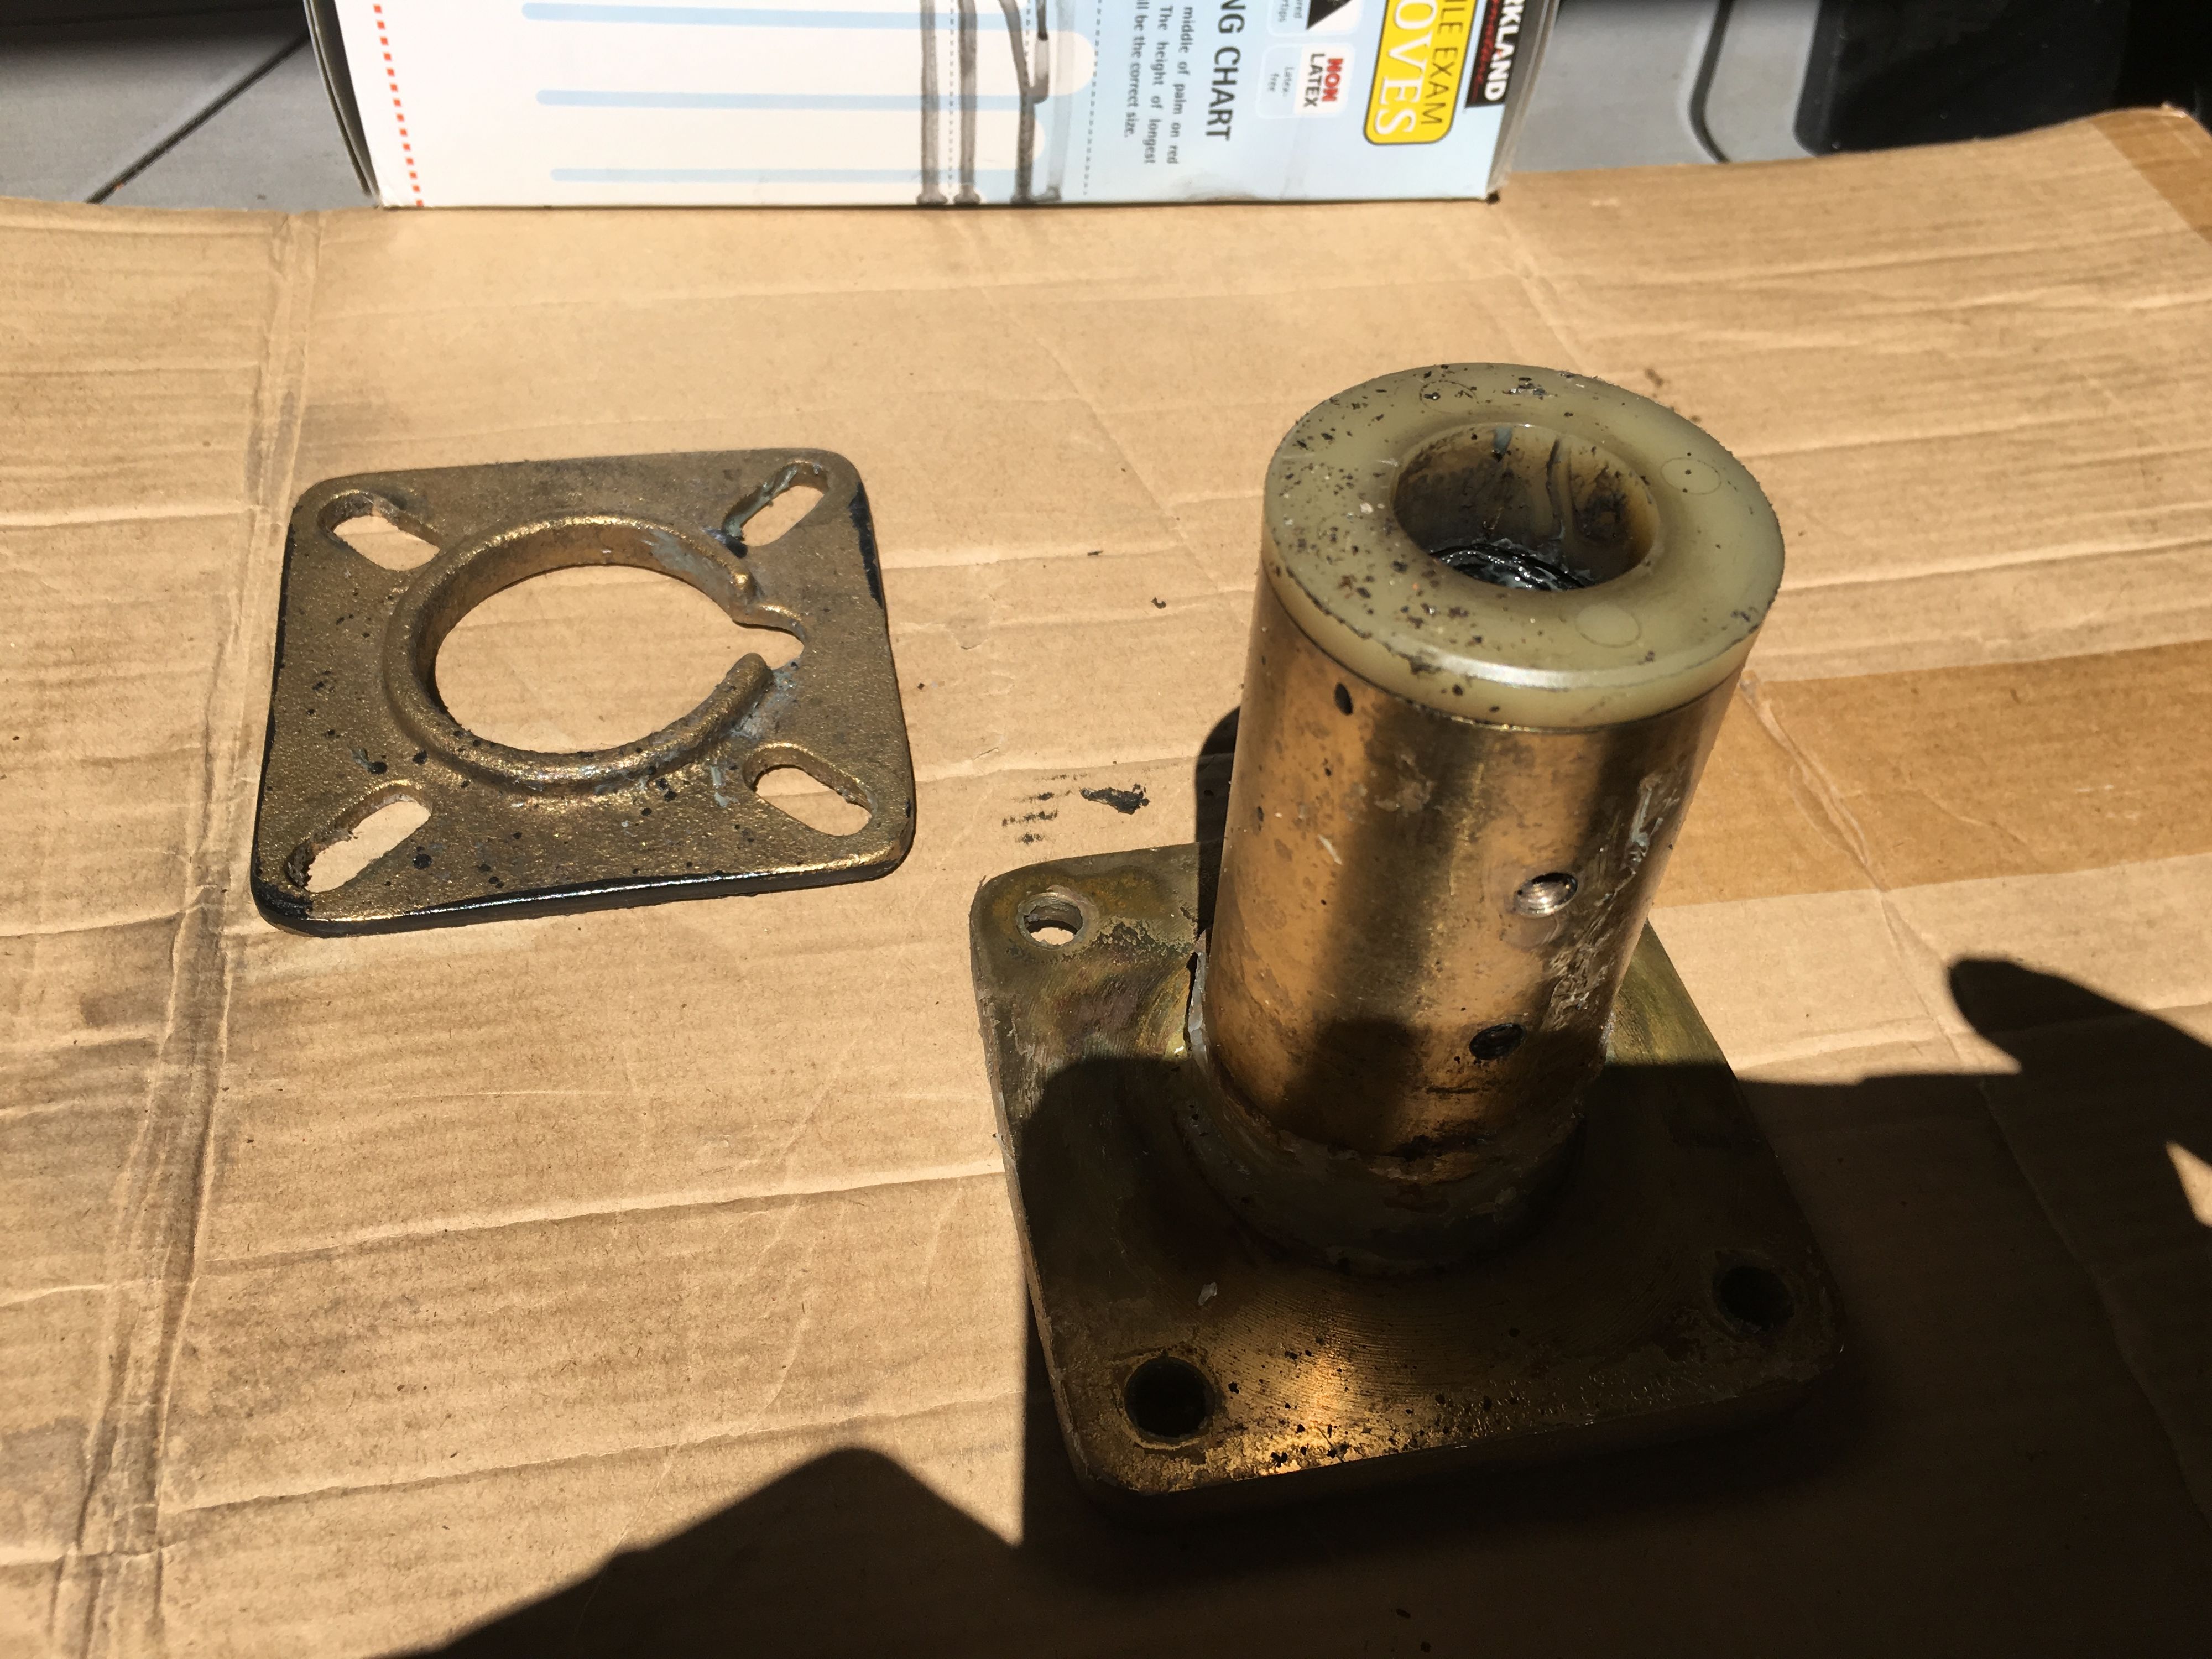
3) Next was to remove the zerk fittings from the housing, so that it could drop down and clear the hole through to the bottom. Mine had two zerk fittings. Also removed the 4 bolts holding the housing together, which sandwiches the housing with a top plate. Next you can carefully remove the housing from the bottom of the boat. Hopefully it just has silicone and not a strong adhesive.


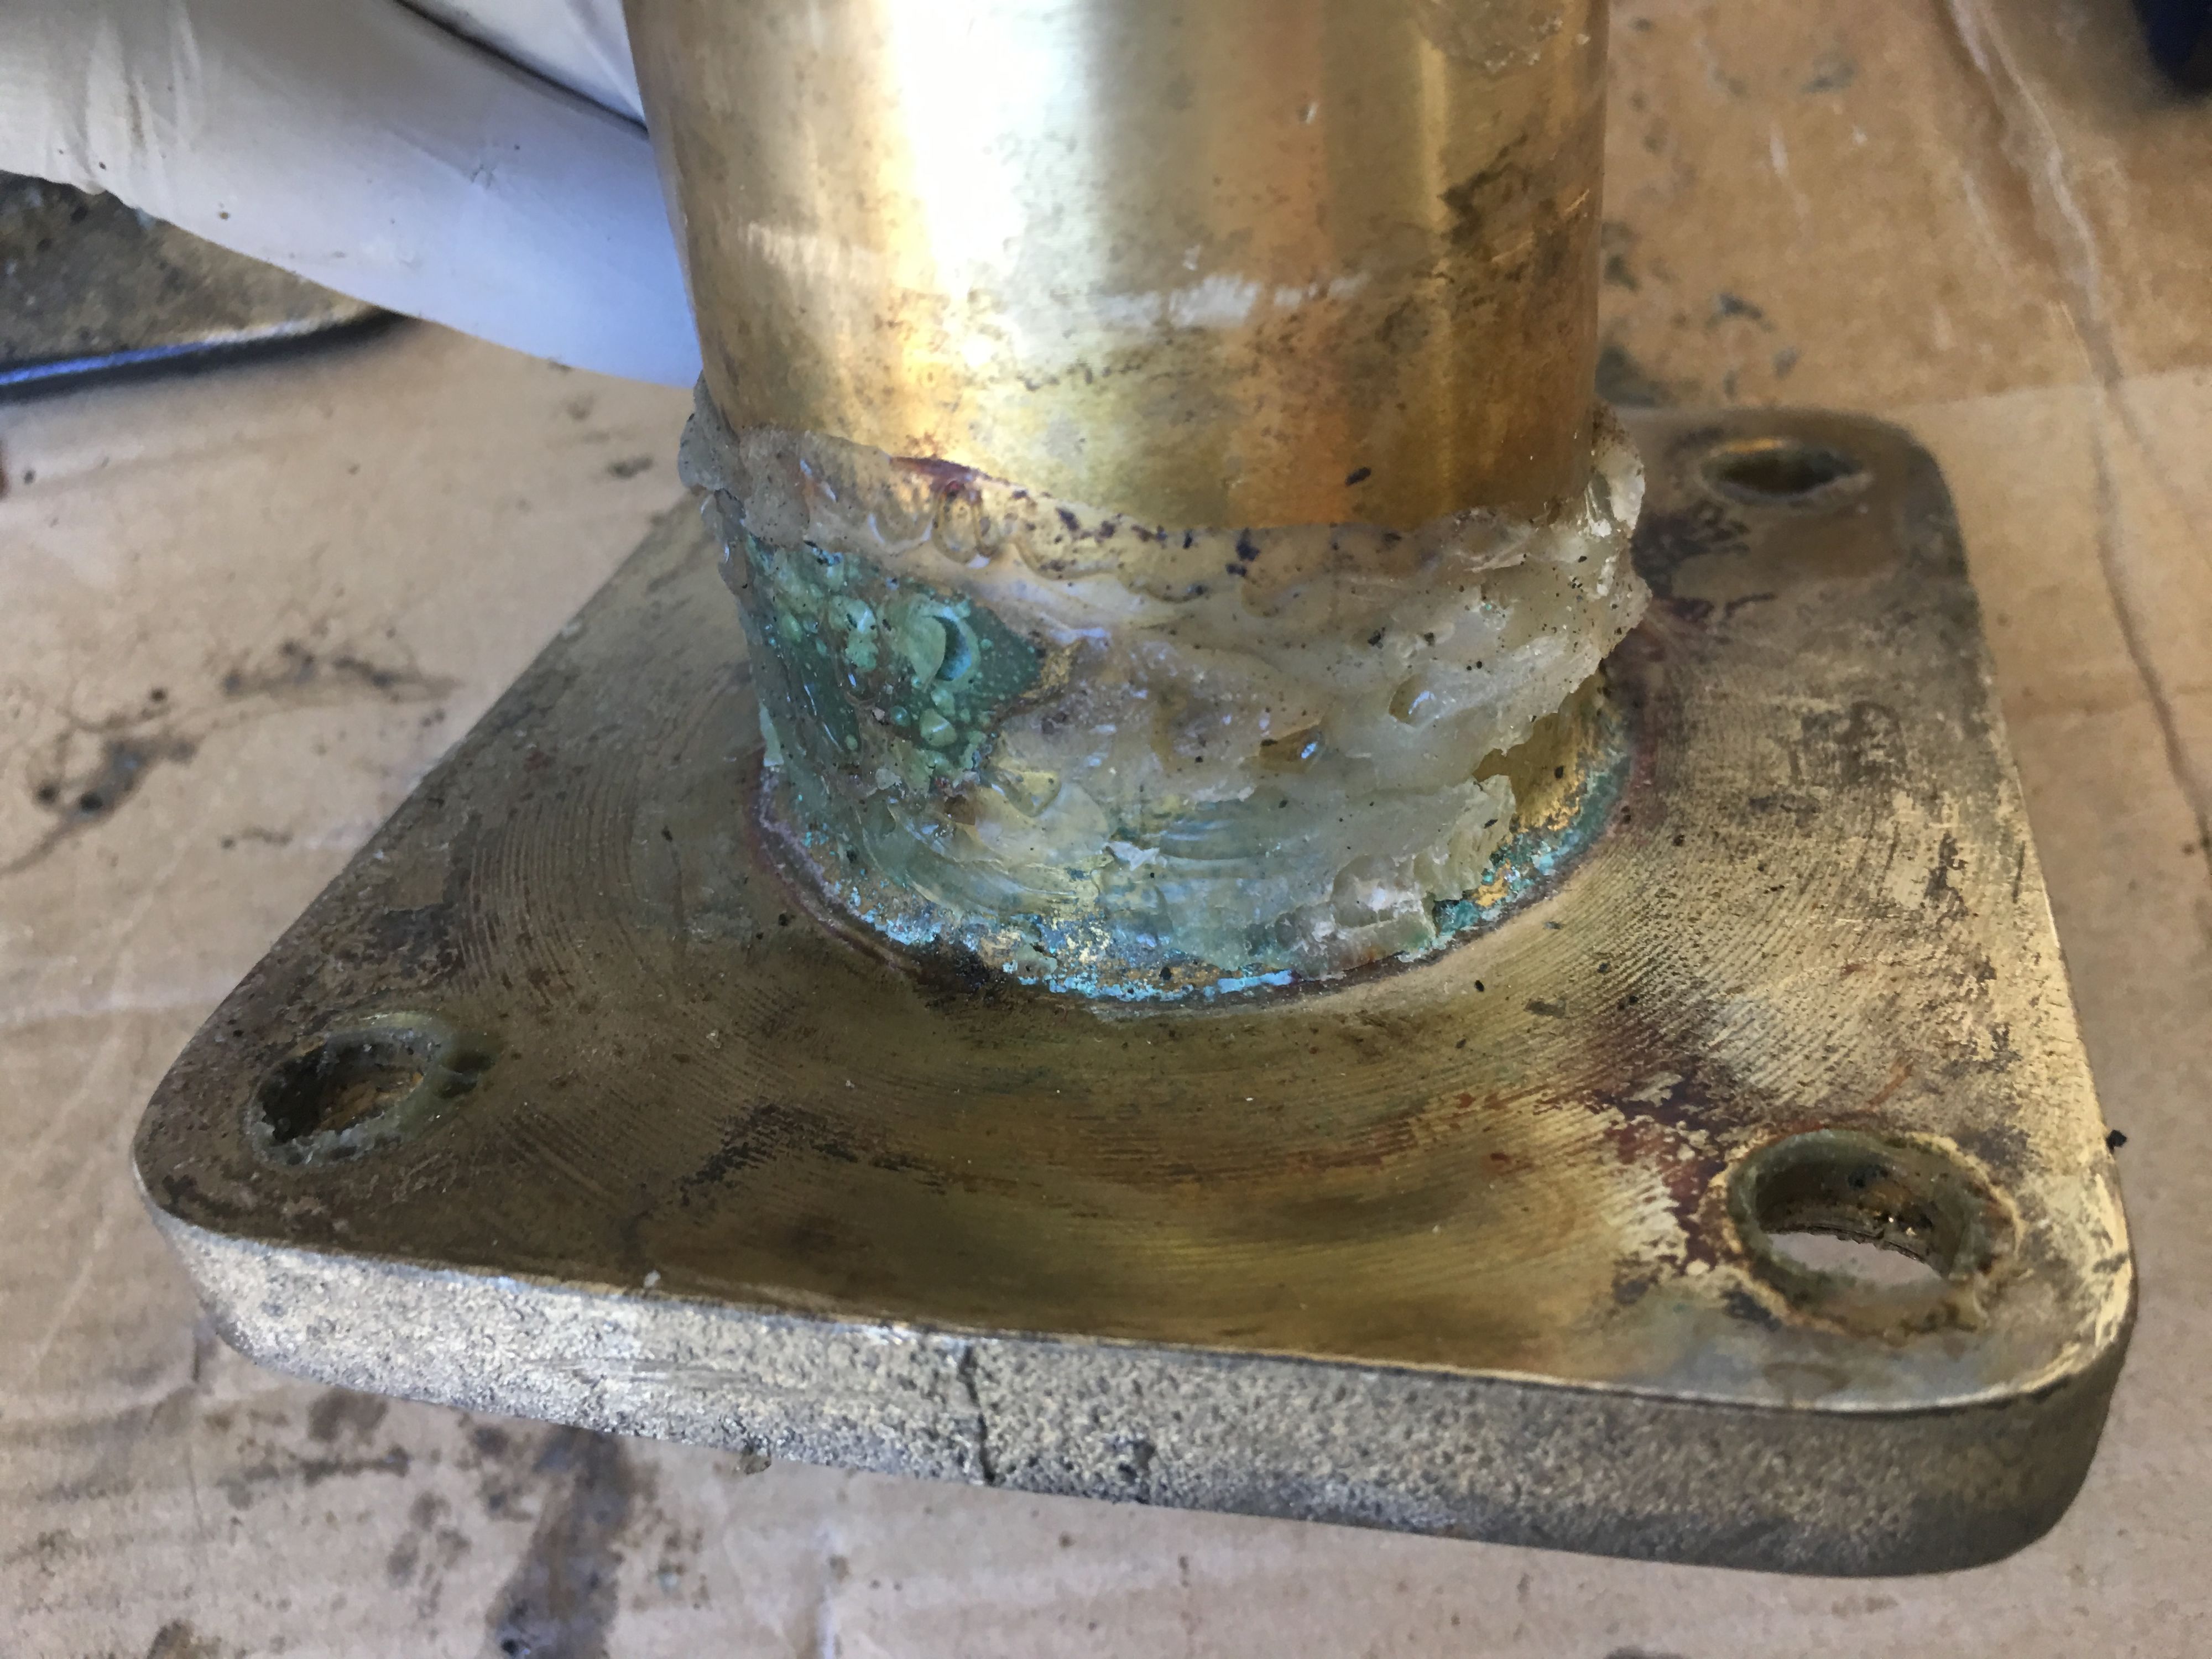
4) Once the housing was out, I used a razor blade and wire brush to clean the outside of the housing. This preps it to take new sealant when it goes back in.
5) This housing consisted of a plastic wear ring on top, then a snap ring above the oil/grease seal, and then two O rings. I was able to remove the top wear ring with a screwdriver, but the snap ring was rusted out and both holes broke off with my snap ring tool.... so it required some hacking to get the ring out. Then pulled the oil seal out, then the snap rings.
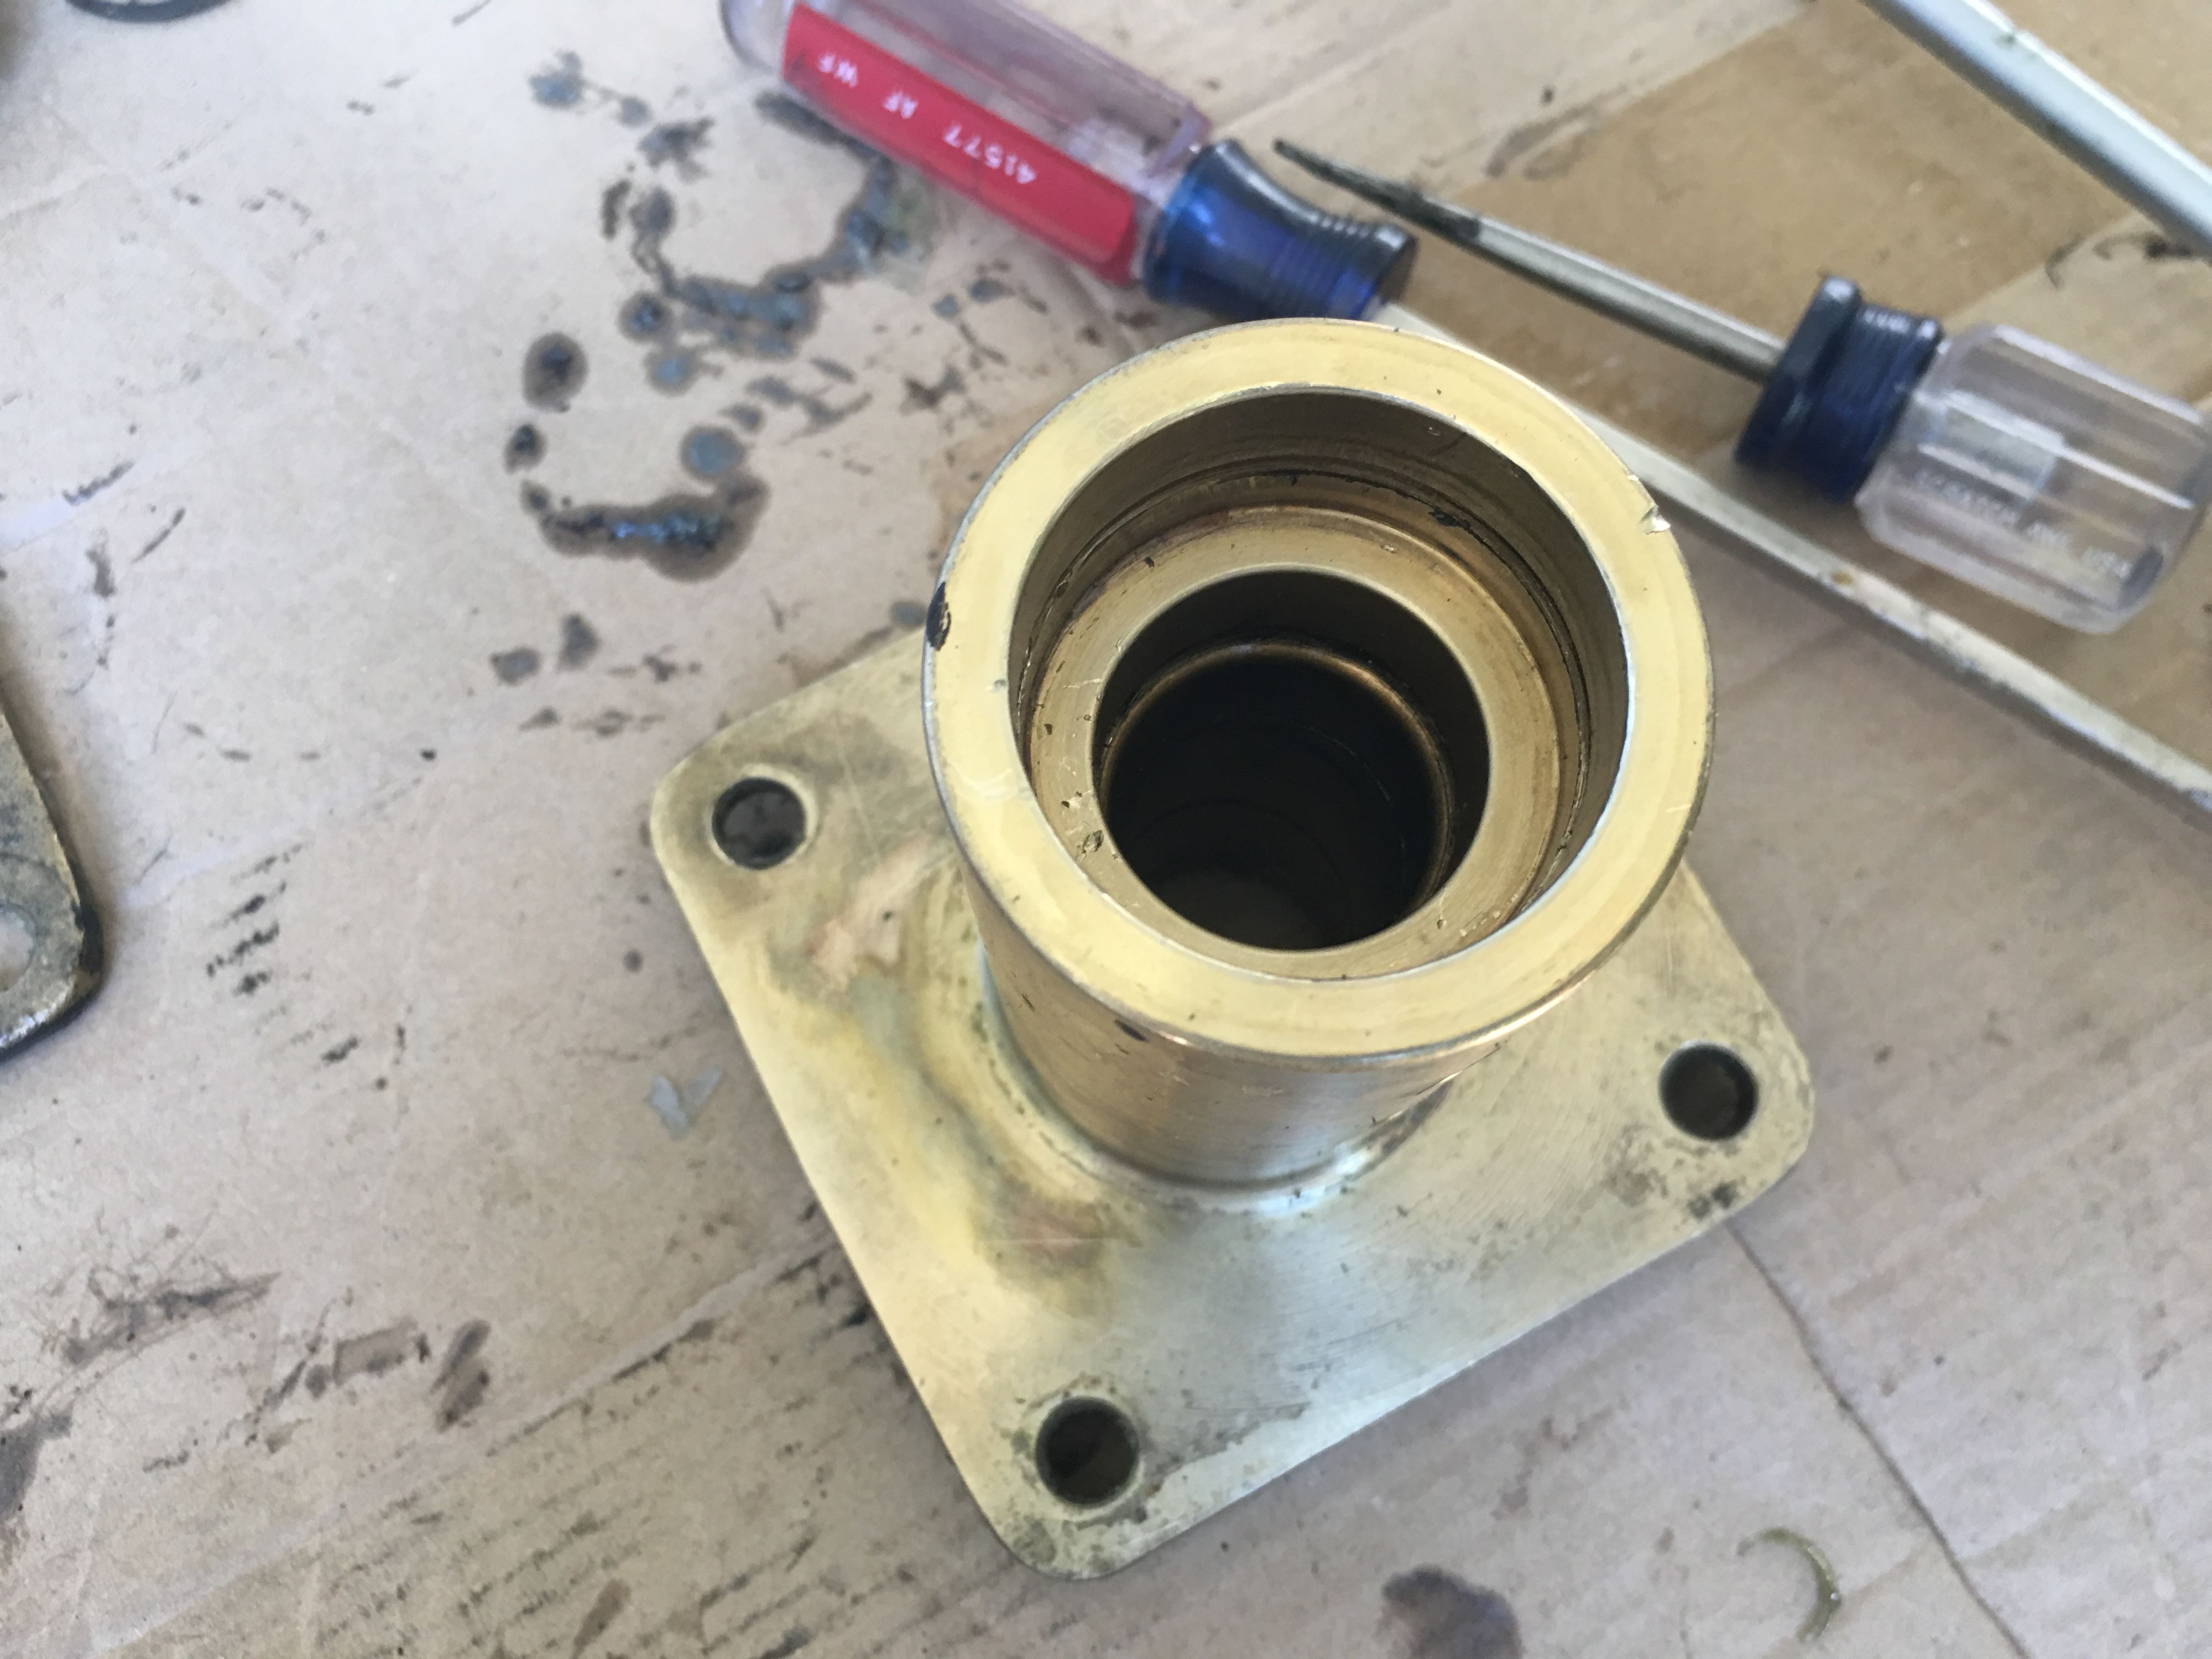
6) Cleaned the inside of the housing to remove old grease and dirt.
7) Reinstalled all the components of the new kit. Put the O rings in first, then the oil/grease seal which goes lip side down. Used marine grease of course on the inside, and also to pack the seal first so the spring ring on the opposite side of the seal doesn't come out as you insert it. Mine took a little pushing, so I used the old wear ring first to push it down, and then a large socket and rubber mallet to push it further down so that I could insert the new snap ring. Then you can insert the top plastic wear ring / cap.
8 ) Reinstall the rudder box into the boat, using a non permanent sealant (life caulk, life seal, 4200, etc), reversing original steps.
9) Clean the rudder shaft and check for burs or excessive wear marks. Can lightly smooth with emery cloth if needed. Can also put a touch or marine grease around it, then reinsert into housing.
10) You will need to have somebody push up on the rudder so that it goes all the way up, and then re insert the catch bolt.
11) Reinsert the zero fittings, and give them a few pumps of marine grease each. Be careful not to overgrease them, or your rudder will be harder to turn.


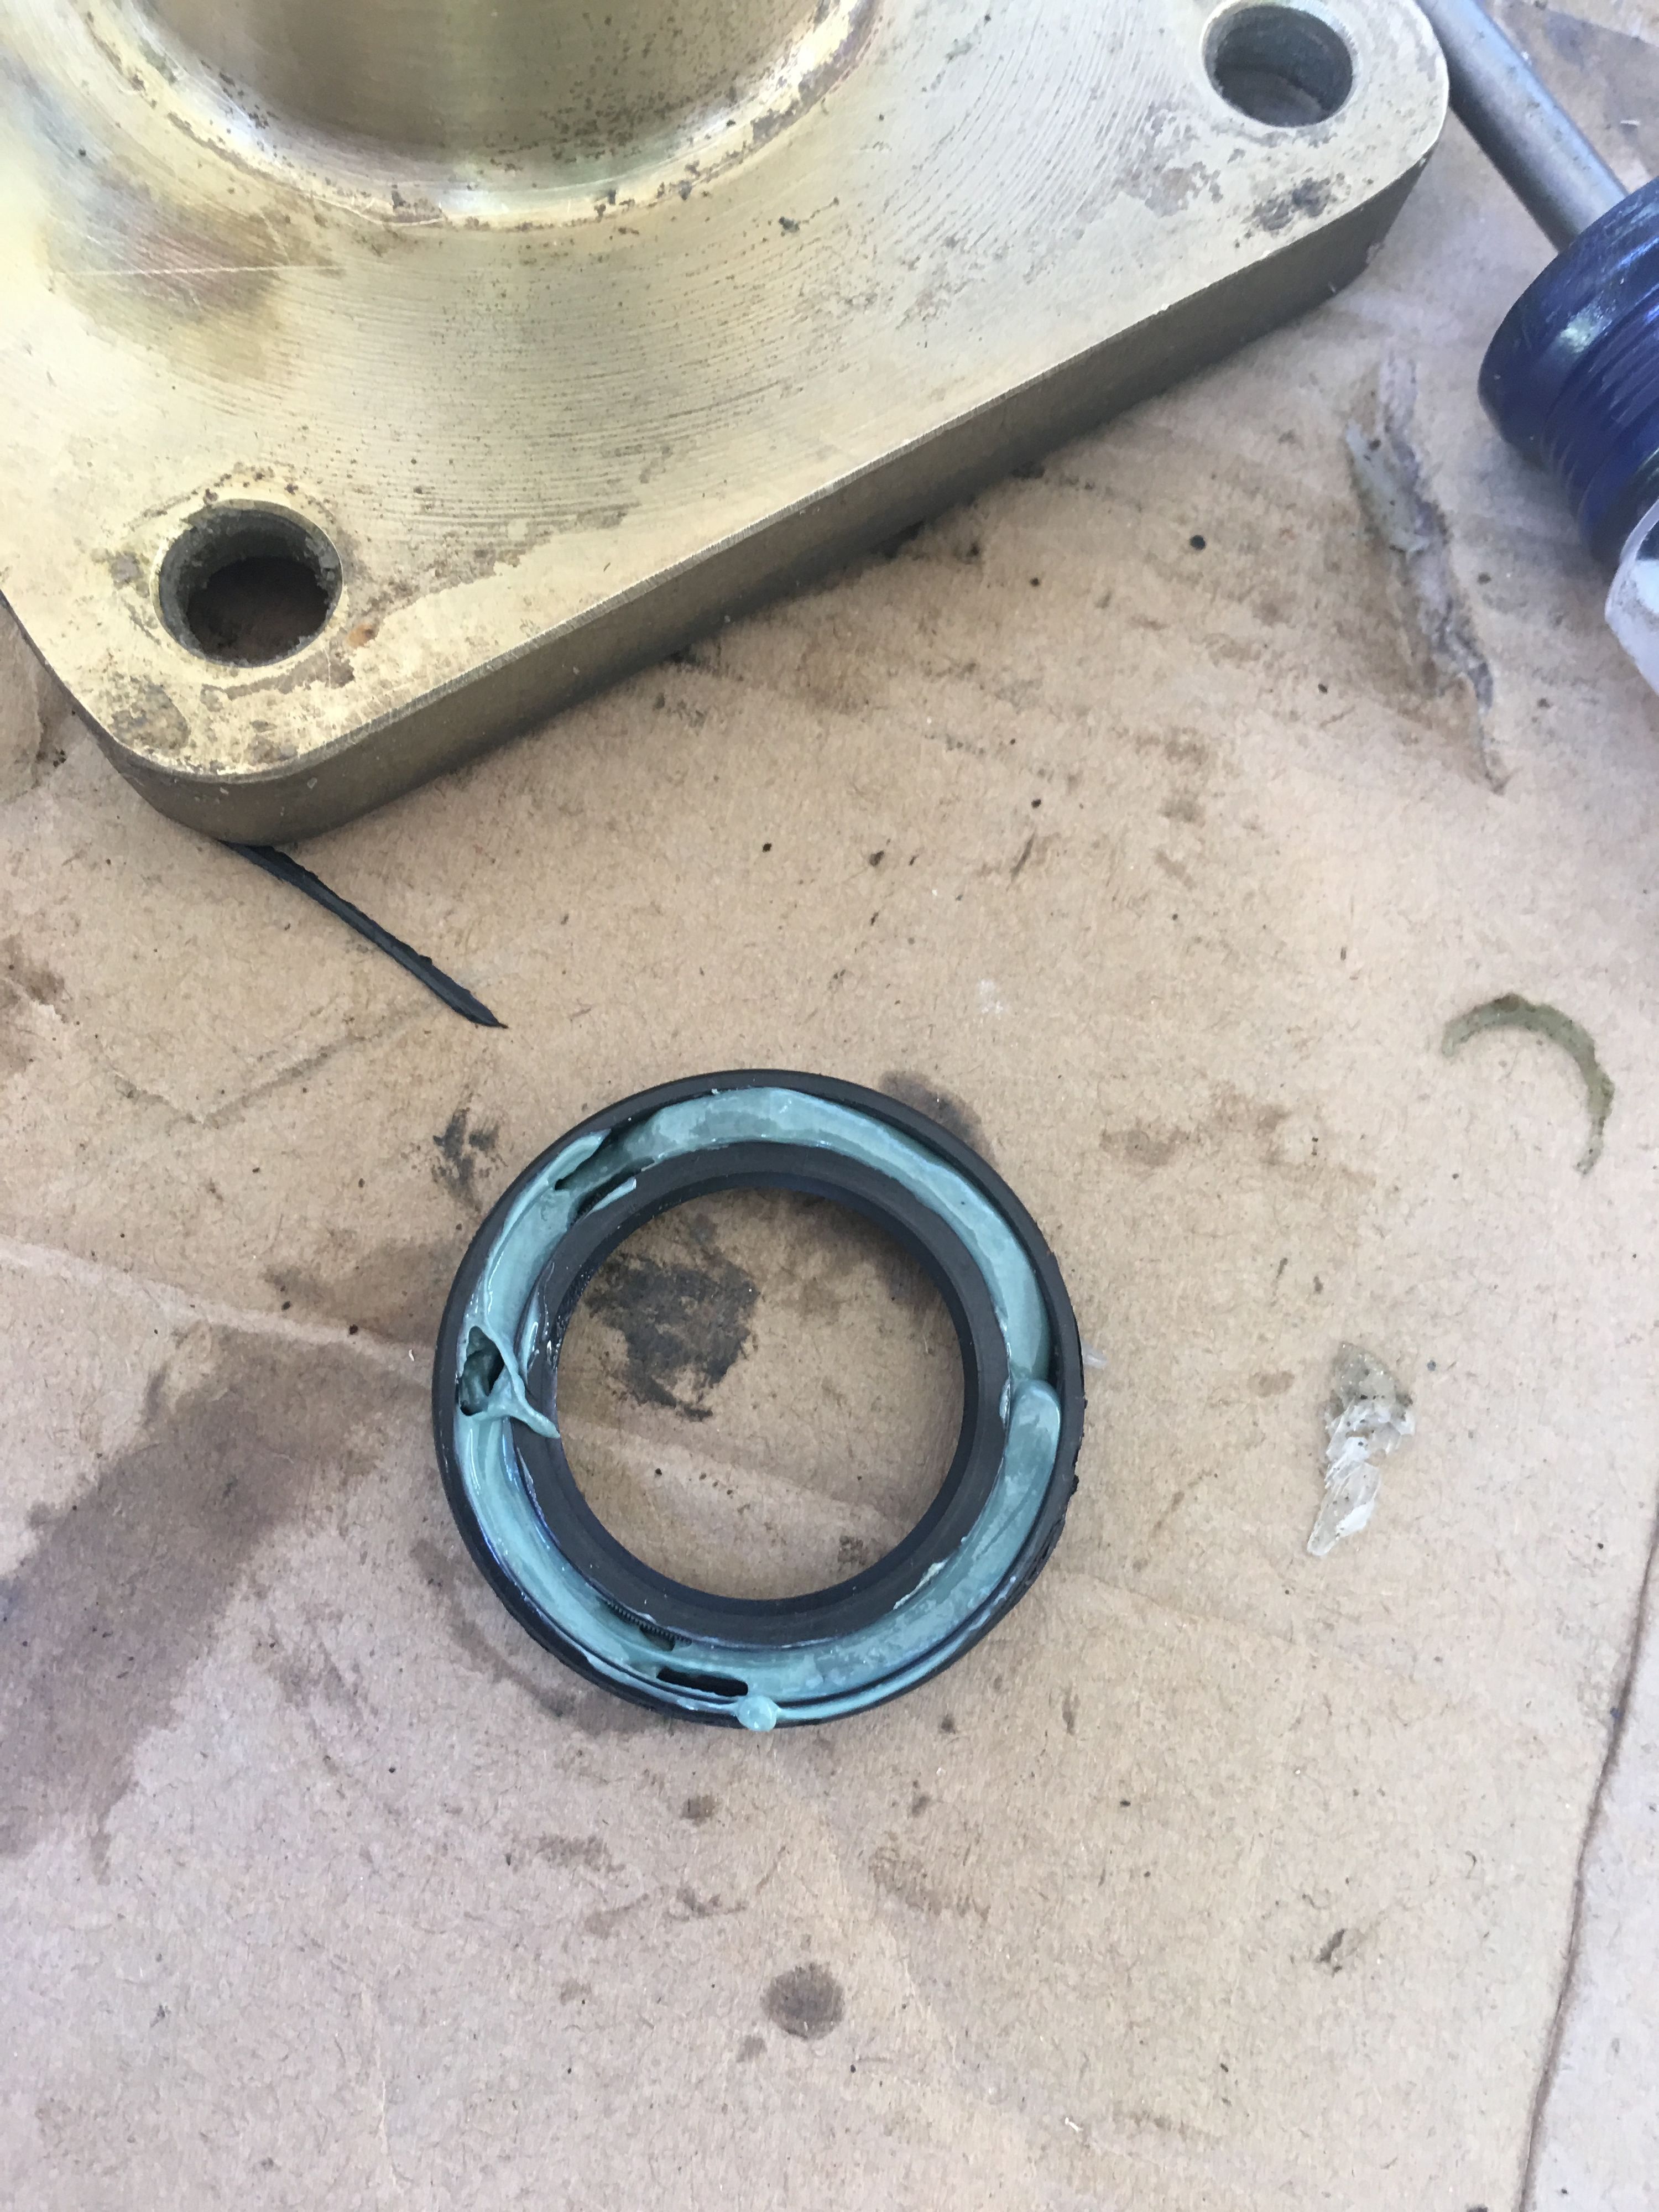
old parts -- notice broken ring and hammered oil seal.

Cleaned up and ready to install kit


Hope this helps. I'm not an expert so maybe somebody has other advice. But hopefully at least the pictures give you an idea what you are replacing.
Ours works awesome now and was obviously overdue. Total time was about an hour and a half, mostly due to having to lift the boat safely. If you every have to pull the rudder, I highly recommend replacing the seals.
Edited by Rugger


.thumb.jpeg.d318255b96edd9f88e9a0da37ff83595.jpeg)


.thumb.jpg.d6e1f49476f0797b86e8afb53e7c3295.jpg)


Recommended Comments
Create an account or sign in to comment
You need to be a member in order to leave a comment
Create an account
Sign up for a new account in our community. It's easy!
Register a new accountSign in
Already have an account? Sign in here.
Sign In Now