


cowwboy
-
Posts
253 -
Joined
-
Last visited
-
Days Won
29
Content Type
Shop Talk
Gallery
Marketplace
Downloads
Articles
Completed Projects Database
Blogs
Events
Profiles
Everything posted by cowwboy
-
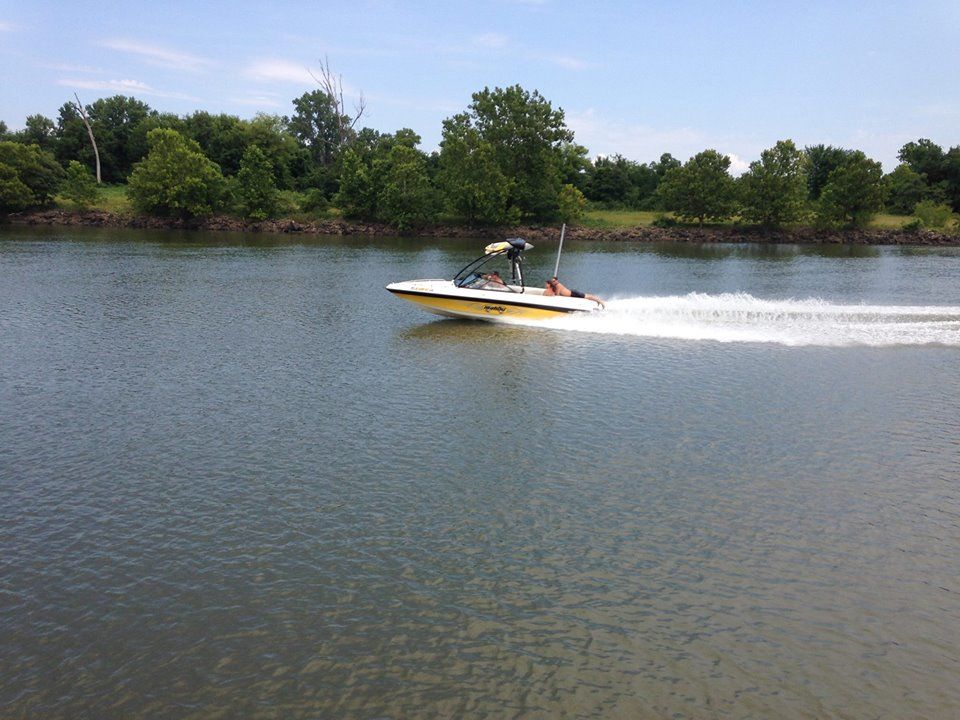
10615977_10152615405058959_1567747542032970677_n.jpg
cowwboy posted a gallery image in Member Boats 'N Wakes

From the album: 2002 Malibu VLX
-
02 malibu vlx
-
Thanks.
-

-
WS head unit in dash-cowwboy.jpg
cowwboy posted a gallery image in Random images from Completed Projects

-

-
 As many of the older bu owners I was not very fond of the hidden head unit under your arm rest. I saw where someone on Wakeworld years ago took the gauge bezel from the next generation bu and put in a double din in the dash. So I got the same gauge bezel and kept it till I found a new head unit I like. Few years down the road and they finally release the MC-1. Here is a pic of the old vs new gauge panel. Here is the gauge shroud? that I got years back off ebay installed in my dash. My local malibu dealer hooked me up with the gauge bezel that fir in it and had the two outer gauges so I could use it as a template. I then used a router table to make the gauge bezel out of HDPE. The MC-1 has an Aux in, Aux out, and the USB input and I couldn't find a off the shelf mount that had it all built in. So I downloaded the cad software from https://www.frontpanelexpress.com/ and had them make a panel to fit the panel mount headphone jacks and usb I got from amazon. FYI Front panel express is amazing to work with. Their software broke down the costs of the machining so I could see where little rounding of corners and edges doubled the project price. Or the text of my boats name cost almost nothing. I still need to change the input panels screws to black so they blend better. But it will be awesome being able to receive audio via an A-link and then transmit to another A-link for big cove tie ups. The only downside to this mounting location and the screen is that the viewing angle isn't to great. So if you are sitting with the flip up bolster down you can see fine but when the bolster is up it gets kind of hard to see all of the graphics. But I could shave the mount so it has a slight bit of a upward til to the screen. Also I may wrap the panel mount in vinyl or get one machined out of aluminum. But we will see, the plain black HDPE is growing on me.
 -
2002 Malibu VLX
-
Cheap Amp Cover to space away stowed towels, etc
cowwboy commented on Dale974's project in Sound System Projects
Whats crazy is I have a friend who him and his wife have a gf, the same gf. Who BTW lives with them. Reminds me of the TV show shameless. -

From the album: Completed Projects
-

From the album: Completed Projects
-

From the album: Completed Projects
-

From the album: Completed Projects
-

From the album: Completed Projects
-

From the album: Completed Projects
-

From the album: Completed Projects
-
Cheap Amp Cover to space away stowed towels, etc
cowwboy commented on Dale974's project in Sound System Projects
I like the idea. Keeps the airflow no matter what the wives/girlfriends stuff in there. -
That's awesome I like it.
-
The batteries were originally in the observers compartment. They are now in with the ballast bags right up against the seat backs. The space gained by moving the batteries is amazing on my boat. I now have golf cart batteries and a custom built hdpe battery holder. This was with a 4d deep cycle. My starter/ backup battery sits on the drivers side and then my golf carts sit on the port side. I ran the stock 4AWG and then added a 00AWG ground and positive wires to the observer compartment where the fuses are. My battery switch sits under the corner seat by the batteries.
-
Looks great!
-
Did you build the switch panel from scratch? I have been trying to decide what to do with that space now. I like the way you did it.
-
Given I have not run a pressure test on a ballast system to know the exact back pressure. But on a jabsco ballast puppy going from 5'(2PSI) of head pressure to 20'(8.7psi) of head pressure you have a 16% drop in flow. Plus the more you strain the pump the higher the current draw and load on the rocker switch. My main reason for initially doing this was I added impeller pumps in addition to the existing aerators and no one offered custom bags except water bed bags at that time. If WM was making bags at that time I would have probably ordered them pre made. But when nothing is available you create what you need. Also remember this is not even a 1" threaded fitting but a 1 1/8 ID.
-
It's been like this for 3 or 4 years with no issues.
-
 Before you could get custom bags made from wakemakers I was stuck with 3/4" fittings. So I decided to add 1 1/8" fittings to my bags for a reversible pump. I planned on using the flow-rite through hull fittings with RTV silicone added to ensure a leak free seal. Here is the fitting I used. https://flow-rite.com/products/marine/1-18-fittings/ma-044-qlb I hooked up a air pump to ensure it would stay inflated so I could work with the bag. I then drew out the hole needed for the port to go through but left it a tad on the small side. I then used a new razor blade to carefully cut the hole out. I then pushed the mushroom end of the fitting through the bag after putting a liberal coating of rtv on the edge of the fitting that would mate with the bag. Then just put the nut on and tighten down. Definitely measure 4 times cut once. It was almost as unnerving as drilling hole through the hull.
 -
 I have a 7' garage door and to get the boat to fit we had to remove the front hoop ever time. So after talking with Titan they hooked me up with a swivel joint that I believe was used on the nautiques. I don't have a tig and didn't want to use my mig on the tower so I outsourced the welding and fitting. One issue I do have is that the wishbone on the front hoop has two radius and the joint was designed for the one angle. So when you fold it down it slightly rotates the lower legs a bit but since they are helm joints it's not really a problem. I have had one time where I had to slam on the brakes really hard and the force caused the front legs to bend slightly which bent my top mounting plate. So I wish I had a locking pin or bolt to lock in the joints. But it has never happened again. It has made it sooo much easier to put in the garage now.


